Finish coating
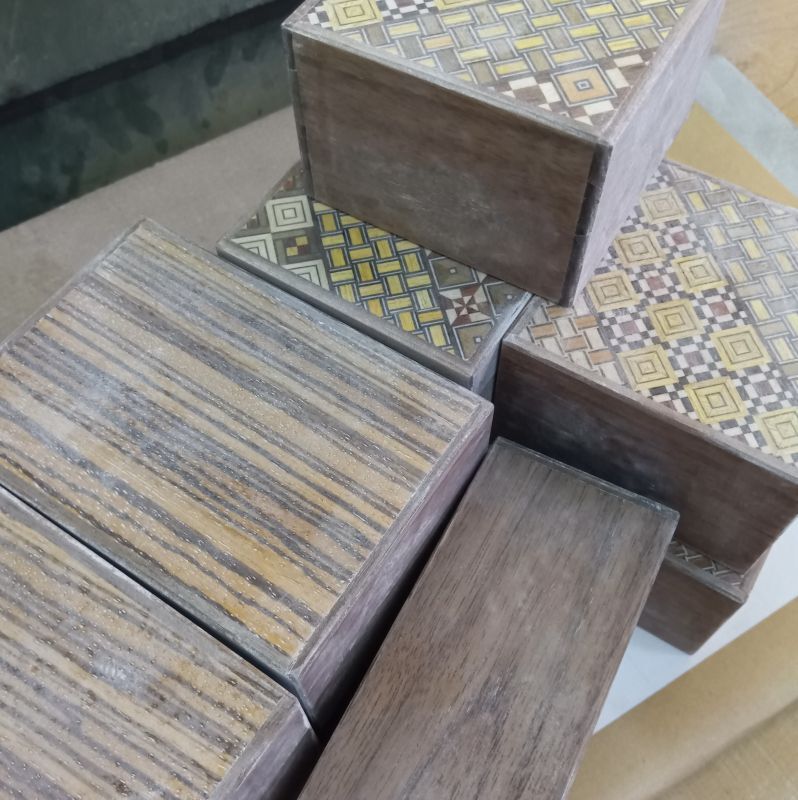
Today, I am sanding several Japanese puzzle boxes with sandpaper for the finish coating (painting). These are four different types of boxes in small quantities: 2-sun cube, 3-sun, 4-sun and Square sizes. These are made-to-orders, and I am making more of each size, but I am finishing only the necessary ones first.
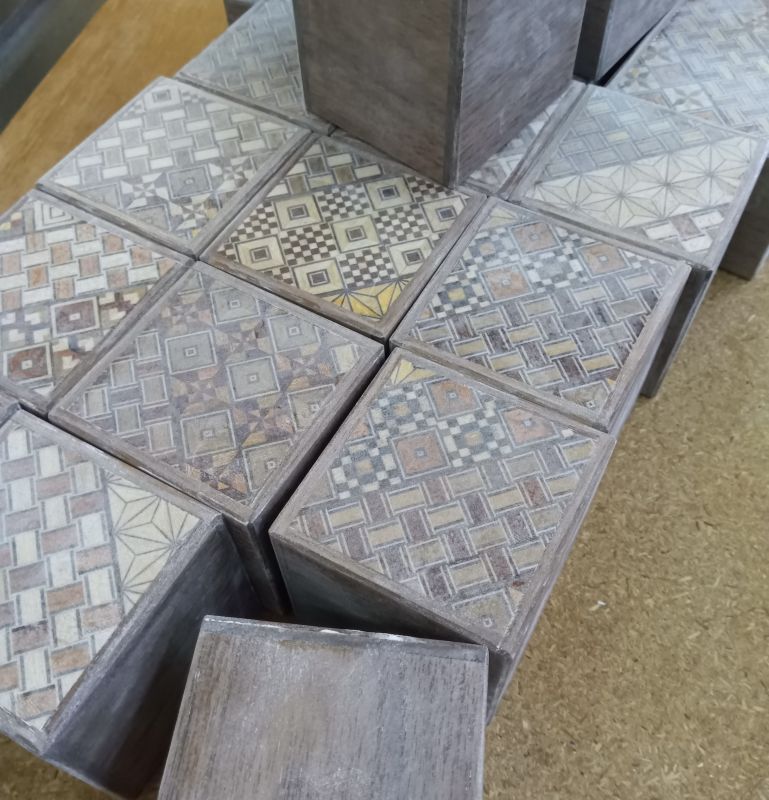
Currently, I apply two coats of paint on the puzzle boxes. First, I apply an undercoat, then sand it with sandpaper, and finally apply the finishing coat. After that, I sand the boxes further, but generally, it is a two-coat process. The photo shows the boxes being sanded after the undercoat, with white paint dust clinging to them. In this step, I sand the undercoat to smooth the surface of the box, and then apply the finishing coat. I use sandpaper with grits ranging from #240 to #320. Is this standard for sandpaper used overseas as well? I'm not very familiar with it, but in my workshop, I use sandpaper with grits ranging from #180 to #400. The higher the number, the finer the grit of the sandpaper. Occasionally, I also use #1200 or #1500 for the final steps.
Among the boxes this time, there are some with Yosegi-zaiku designs. The surface of Yosegi-zaiku is rougher compared to regular solid wood. This is because Yosegi-zaiku is made by finely combining various types of wood, with the grain directions also being different. Regular wood has its grain running in one direction, making it easier to smooth the surface. However, with Yosegi, the grain runs in various directions, requiring more sanding.
so This can cause a slight problem: Yosegi sheets are very thin (about 0.15-0.2 mm), so if sanded too hard, they can be worn away. This is a common mistake during the painting process. Therefore, I have to work very carefully.
By the way, when the surface of the Yosegi on the box is sanded too much and the base layer is exposed, the old craftsmen used to say, "Anko ga deru" (the filling has come out). This is likened to the filling (anko) of a Japanese manju (steamed bun with a sweet bean paste filling) coming out😁

