2 sun cube drawer
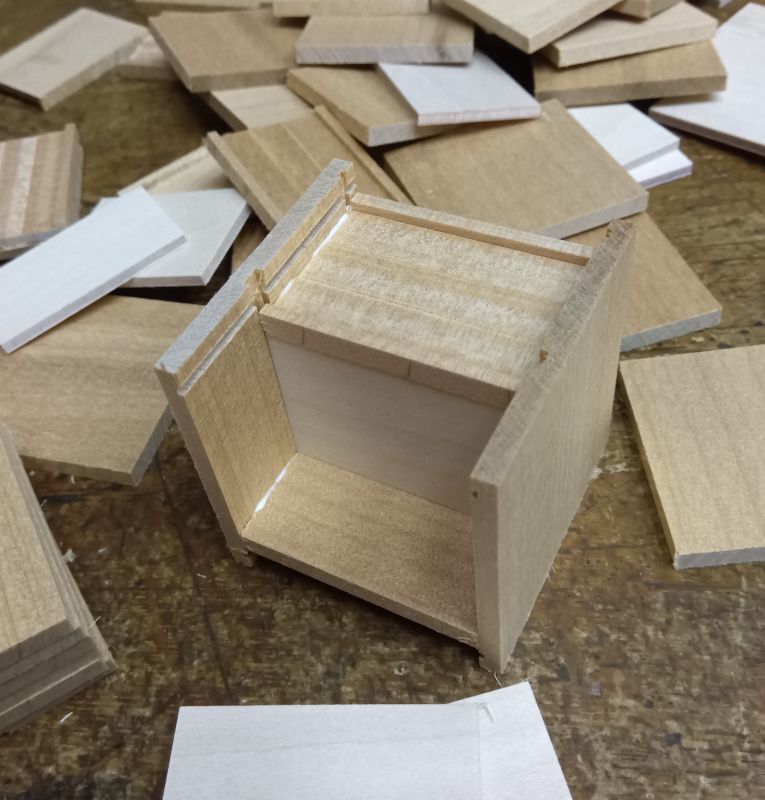
I'm starting to make the 2 sun Cube 4 steps drawer Japanese puzzle box. The photo shows the frame of the box. This time, instead of the traditional yosegi design, the checkered pattern (Ichimatsu) is a special order from a shop owner. However, I am also making a small number of traditional yosegi designs. As an aside, making a small number of Japanese puzzle box is very inefficient, so I usually make around 30 to 100 boxes (with the same structure) at the same time. This time I'm making 15 Ichimatsu boxes (special order) and 15 yosegi box, for a total of 30 pieces.
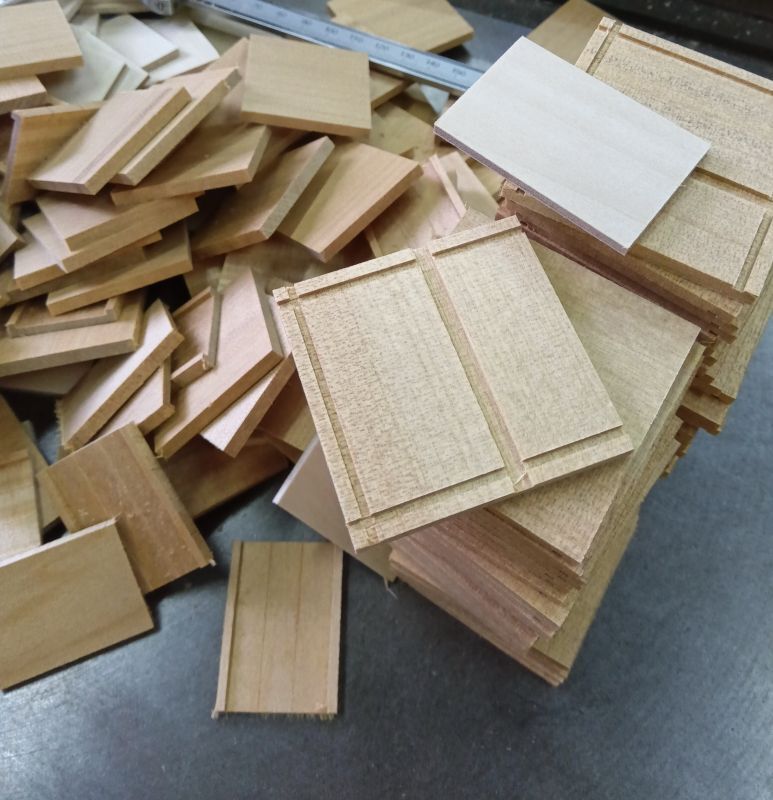
The frame of this box is made up of five parts. There are two side panels, two axis panels, and one panel that separates the drawer space. I have previously used an MDF board for this middle partition board, but as this will be the bottom board when the first space is opened, and it will "stand out", I use the more beautiful "Shina" plywood. As shown in the photo, there are three grooves for sliding panels (Aruki) on the side panels, and a groove for attaching a partition panel is made slightly below the center. This partition panel is fitted when gluing the axis panels and side panels together; no adhesive is applied to this panel. so The partition panel simply fits into the groove and the pieces are assembled at the same time.
Of the two axis boards, the smaller one has a step (photo). The wooden pin of the stopper moves up and down in this lower part (concave) and stops at the higher part (convex). This is the structure of the sliding panel where the drawer comes out. If this axis panel is bent when it is attached, the pin may stop halfway (become too tight) or may come off, so care must be taken. The "protrusion" where the pin stops is only about 1.5 or 2 mm. Once I have assembled the frame, I secure about five frames of the pieces together with rubber bands and leave them for a while before the glue hardens.

