Drawer
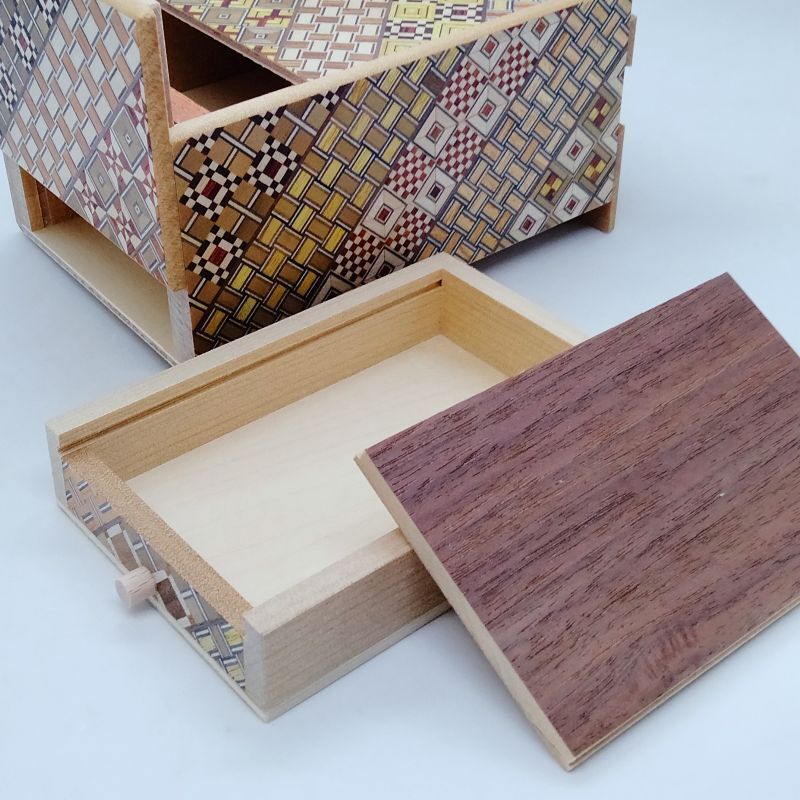
I am currently making the 10 steps 5 sun drawer Japanese puzzle box, and today I made a drawer that fits inside this puzzle box.
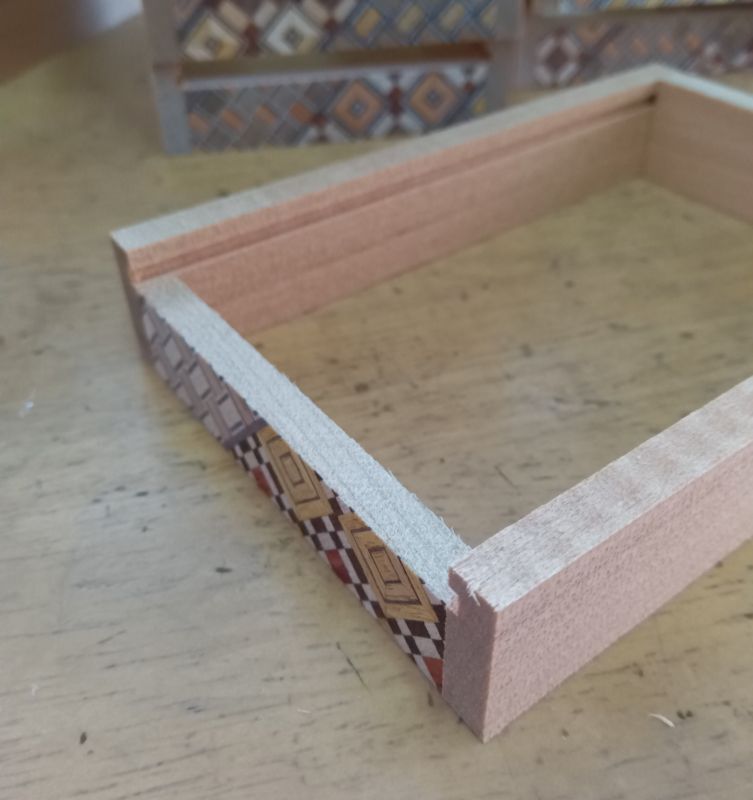
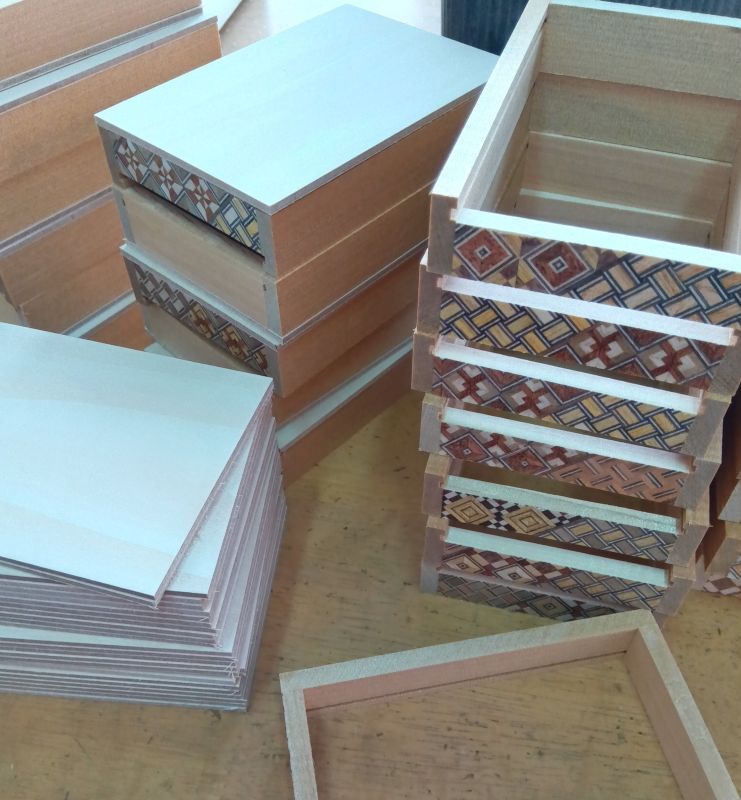
First, I make some parts. This drawer is made of seven parts. Most of the process of making these parts is done using woodworking machines. The frame part is 6mm thick, and 2mm grooves are cut into the two long parts. One of the two short parts (which will become the drawer front) has a sheet of parquet applied to it. In fact, this is mostly just leftover parquet from other box productions. The parquet is made larger than the dimensions of the box, so sometimes there is enough left over to make these small pieces. To assemble it, I first glue these four pieces together with wood glue to create a frame.
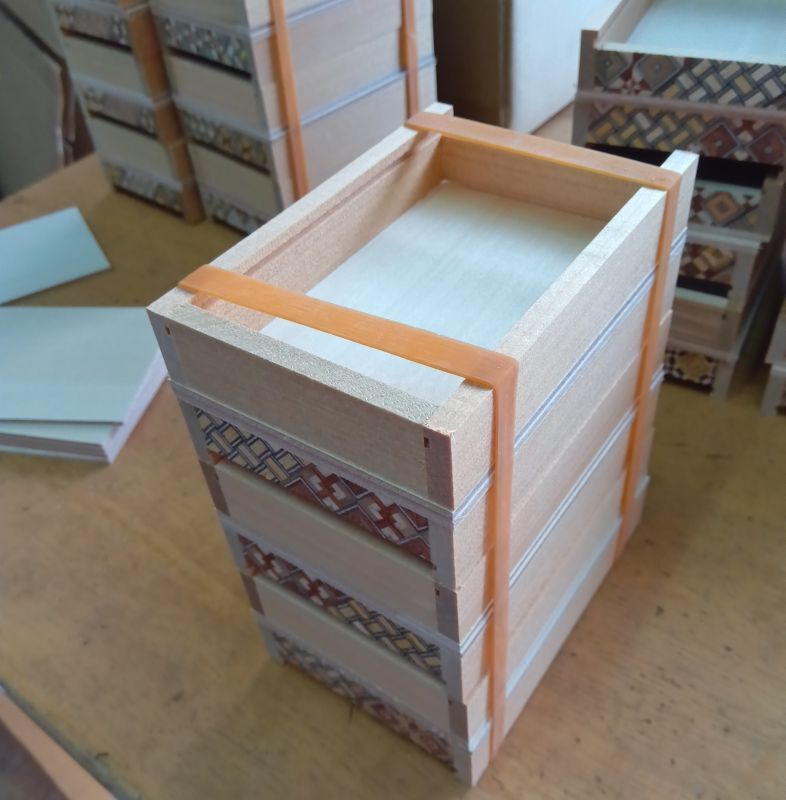
Next, the bottom board of the drawer is attached. I cut this board slightly larger than the dimensions of the drawer frame (about 1mm), then attach this board with wood glue. This bottom board is made of 2.5mm plywood. When the frame and the bottom board are attached with adhesive, they tend to float or move. To avoid this, I use rubber bands as shown in the photo. These rubber bands are used in a variety of situations during box making and come in various types. After that, the bottom board, which is slightly larger, is shaved down to fit perfectly with the frame.
Finally, I attach the drawer handles (cut round rods, 6mm) and lids. As I wrote last time, this lid is made by gluing sliced wood (such as walnut or rosewood) onto an MDF board.


