3-sun 7-step box
A new week has started today, and so has another project. While I'm still working on The Knock Box, I also began making the 3-sun 7-steps puzzle box starting today. Like my other works, this one is also an order from an overseas shop.
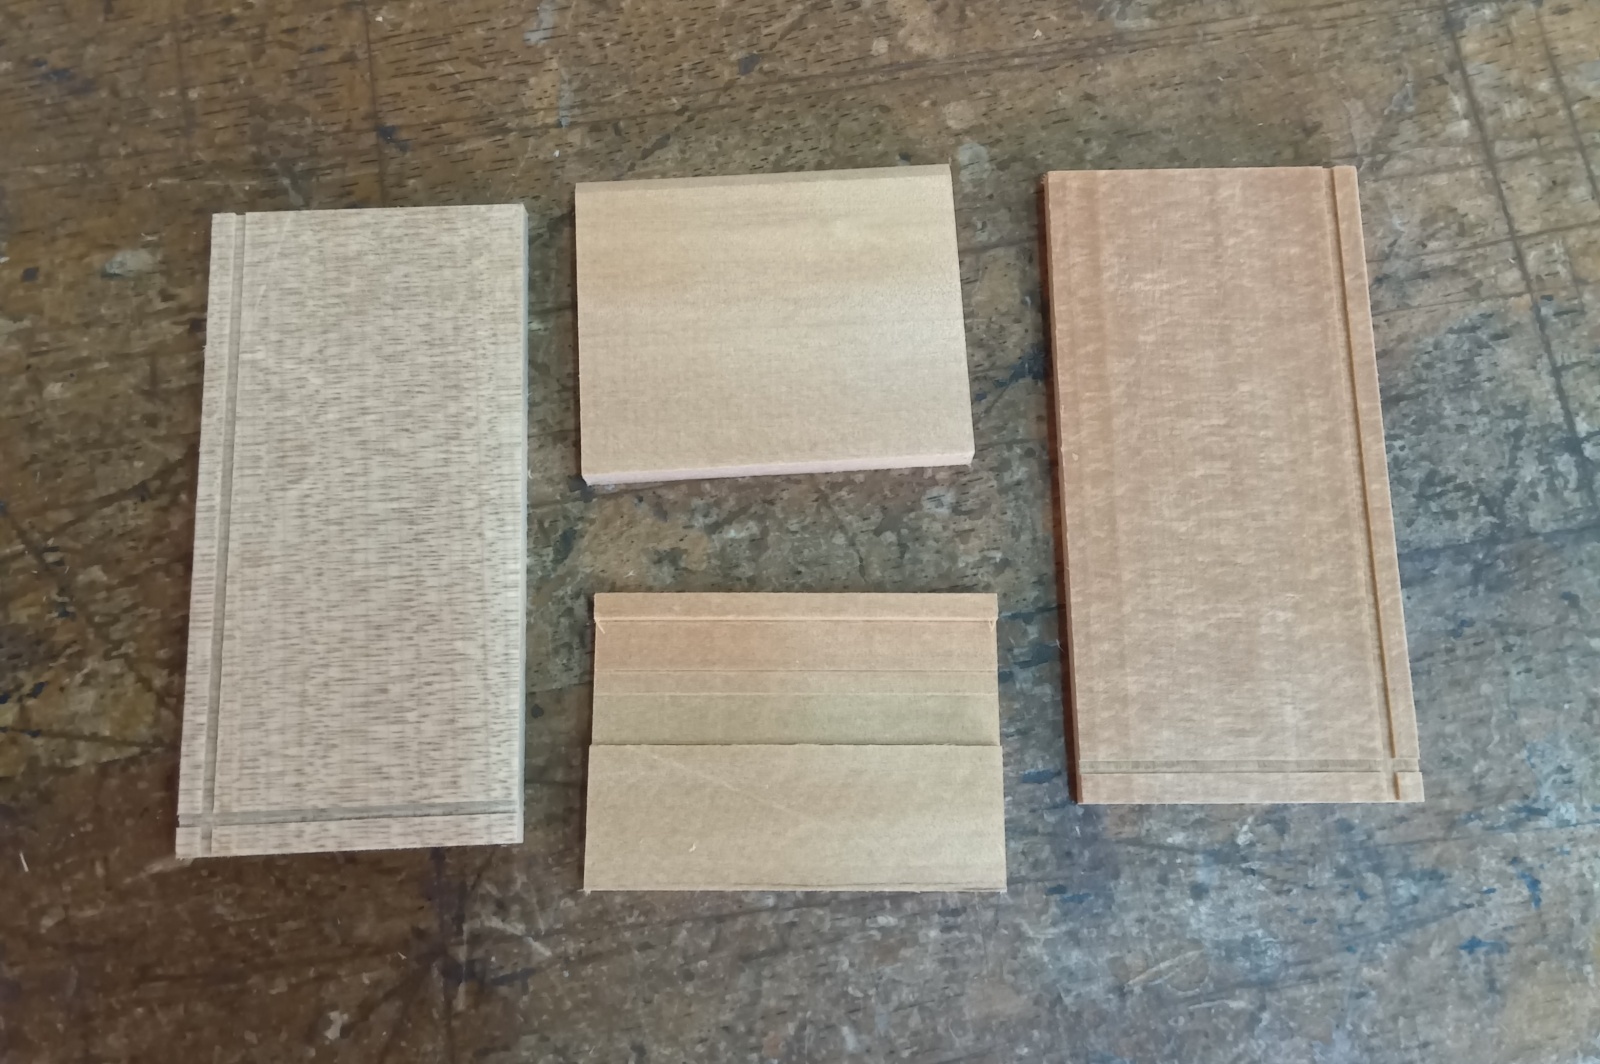
The 3-sun 7-steps puzzle box has a simple mechanism, so I sometimes think it may not be in high demand. But I still get requests for it from time to time. This time, I’ll be making about 40 boxes using traditional yosegi design and walnut wood. Today, I prepared the materials and made the frame parts in the morning. Around noon, those parts were finished. I haven’t started assembling them yet, but once I do, the structural part will likely come together quickly. The 7-steps mechanism is made up of two Aruki panels (moving panels), and these two panels do not interlock with each other in the mechanism. In most other puzzle boxes, the top Aruki panel is connected with the side panels, so the side panels won’t move unless the top panel moves first (though there are exceptions). However, in the 7-steps design, each Aruki panel is independent, so they don't need to be combined during the making process. This makes it easier to build. That said, in terms of the mechanism, the top panel cannot move unless the side panel moves first. So, as a box, only one side of the mechanism is actually functional. Because of these reasons, both the making and assembly of the Aruki panels take less time than usual.
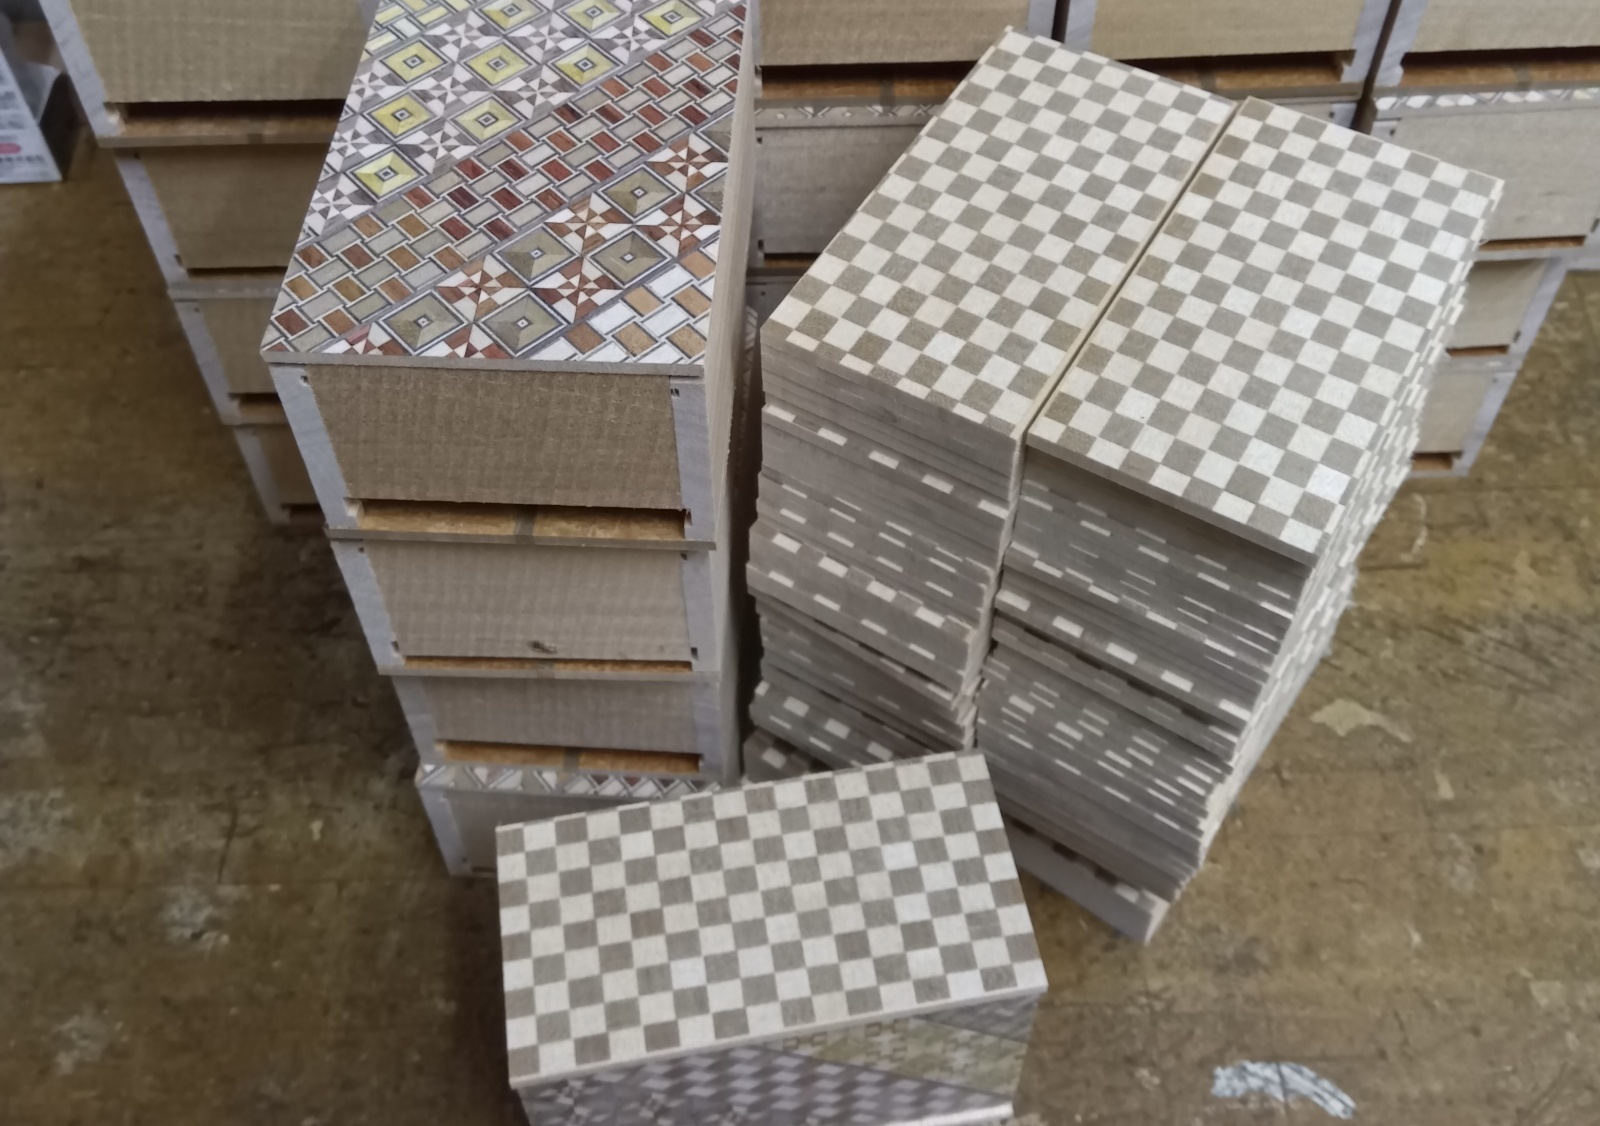
Today, the rain from yesterday cleared up, and it was sunny from the morning. The humidity was still a bit high in the morning, but by the evening, it had dropped quite a bit. So I decided to attach the side panels of The Knock Box at the end of the day. For most boxes, except for very small ones, it’s best to attach the surface panels on days with low humidity. I had already attached the top and bottom panels, so I prepared the sides of the box, glued on the panels, and clamped them in place. The box will stay clamped like this until tomorrow to let everything set properly.
This time, the side panels were also a bit experimental—I created a custom checkered pattern that’s different from what I usually use. As I mentioned before, I normally arrange the checkered pattern at a slight diagonal angle, around 30 to 50 degrees. This is a common technique in traditional yosegi work, as it helps to hide any slight misalignment when the pattern is applied to a board. However, for this piece, I wanted to emphasize a more traditional Japanese aesthetic, so I arranged the checkered pattern vertically and horizontally. This kind of straight alignment is often seen in traditional Japanese elements like shoji or fusuma (Japanese sliding doors), where the designs are laid out at right angles. It’s a bit more challenging to glue the panels this way, but I think it gives a stronger sense of traditional Japanese design.
I plan to continue working on these projects tomorrow as well.
The 3-sun 7-steps puzzle box has a simple mechanism, so I sometimes think it may not be in high demand. But I still get requests for it from time to time. This time, I’ll be making about 40 boxes using traditional yosegi design and walnut wood. Today, I prepared the materials and made the frame parts in the morning. Around noon, those parts were finished. I haven’t started assembling them yet, but once I do, the structural part will likely come together quickly. The 7-steps mechanism is made up of two Aruki panels (moving panels), and these two panels do not interlock with each other in the mechanism. In most other puzzle boxes, the top Aruki panel is connected with the side panels, so the side panels won’t move unless the top panel moves first (though there are exceptions). However, in the 7-steps design, each Aruki panel is independent, so they don't need to be combined during the making process. This makes it easier to build. That said, in terms of the mechanism, the top panel cannot move unless the side panel moves first. So, as a box, only one side of the mechanism is actually functional. Because of these reasons, both the making and assembly of the Aruki panels take less time than usual.
Today, the rain from yesterday cleared up, and it was sunny from the morning. The humidity was still a bit high in the morning, but by the evening, it had dropped quite a bit. So I decided to attach the side panels of The Knock Box at the end of the day. For most boxes, except for very small ones, it’s best to attach the surface panels on days with low humidity. I had already attached the top and bottom panels, so I prepared the sides of the box, glued on the panels, and clamped them in place. The box will stay clamped like this until tomorrow to let everything set properly.
This time, the side panels were also a bit experimental—I created a custom checkered pattern that’s different from what I usually use. As I mentioned before, I normally arrange the checkered pattern at a slight diagonal angle, around 30 to 50 degrees. This is a common technique in traditional yosegi work, as it helps to hide any slight misalignment when the pattern is applied to a board. However, for this piece, I wanted to emphasize a more traditional Japanese aesthetic, so I arranged the checkered pattern vertically and horizontally. This kind of straight alignment is often seen in traditional Japanese elements like shoji or fusuma (Japanese sliding doors), where the designs are laid out at right angles. It’s a bit more challenging to glue the panels this way, but I think it gives a stronger sense of traditional Japanese design.
I plan to continue working on these projects tomorrow as well.