Side panels
Today, the temperature was fairly comfortable. However, in Japan, we often have what’s called a “spring storm,” where even if it’s sunny, the weather can still be rough with strong winds. Today, the wind was a bit strong.
On windy days, I have to be careful because wood can warp. It’s often said that when drying wood, wind is more important than temperature. If you place the wood in a well-ventilated area, it will dry much better.
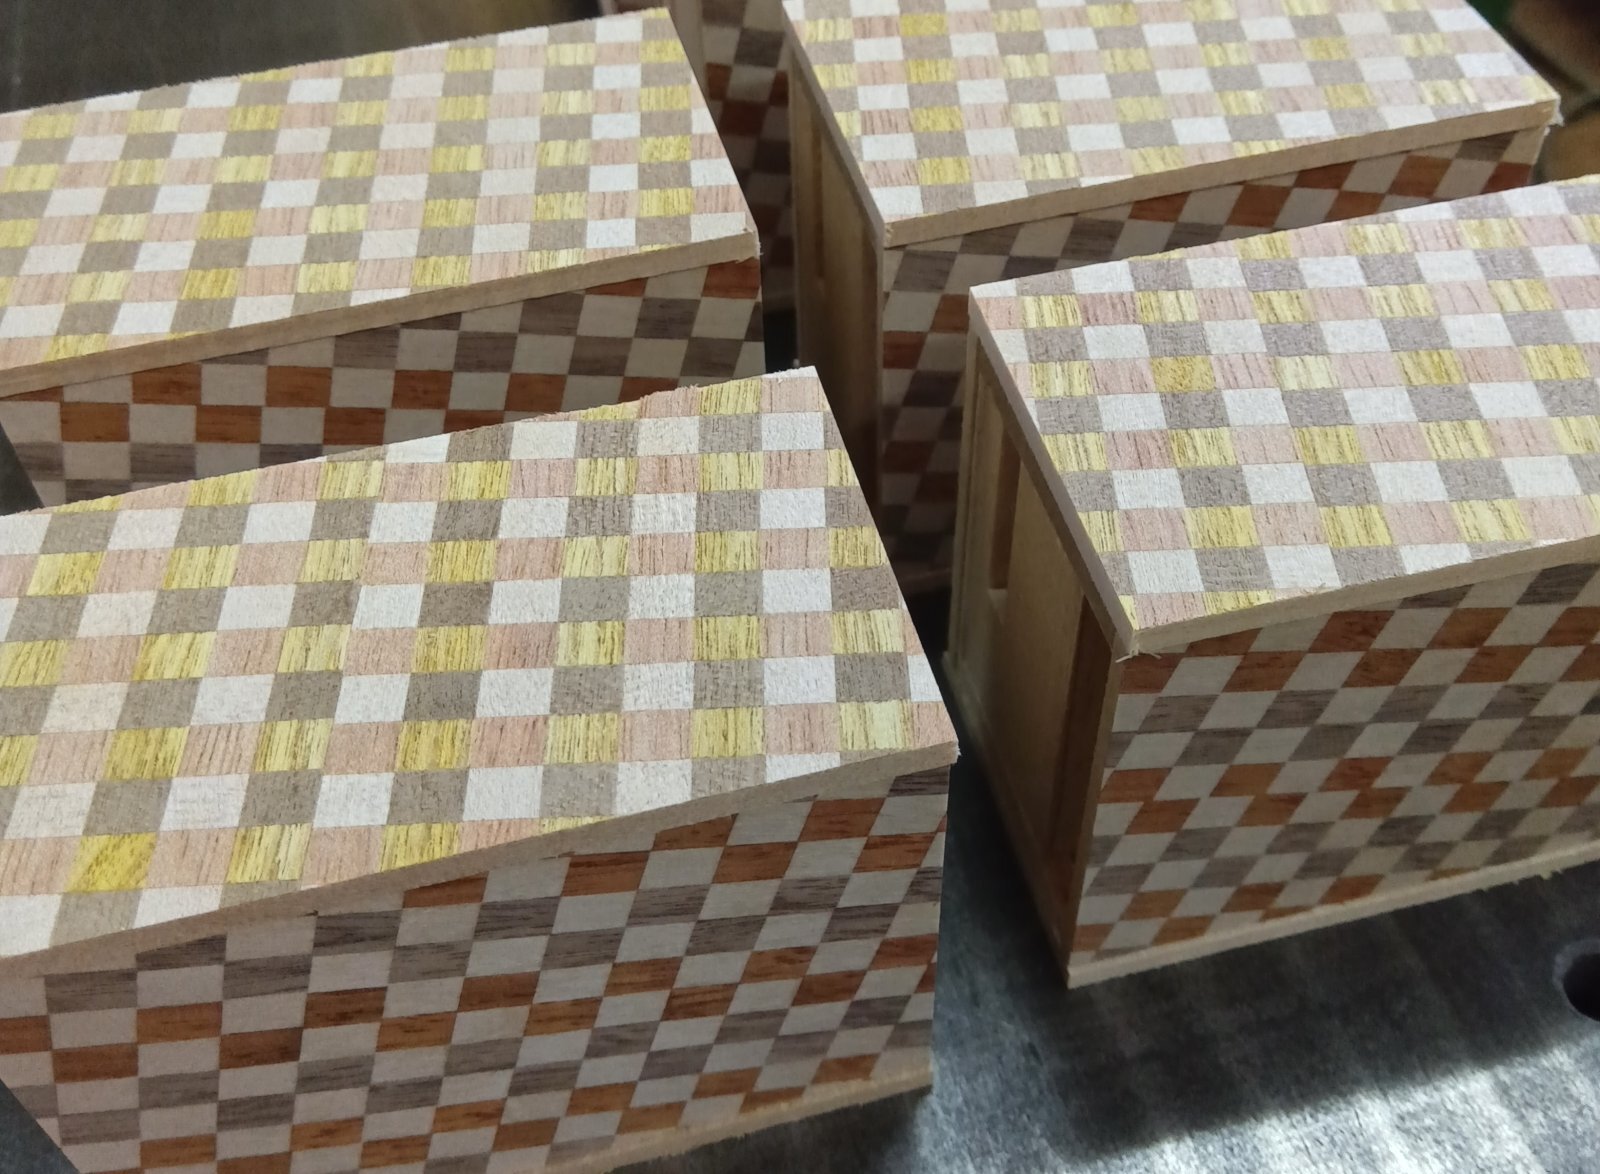
Today, I attached the side panels for both the 3-sun and 5-sun boxes. Since I’m working on several different designs at the same time, I have to be careful not to mix up the quantities. For the 5-sun boxes, I used the usual traditional Yosegi design. For the 3-sun boxes, there is a version that features only the checkered pattern this time. The colors of the checkered Yosegi are different on the top/bottom and the sides. This design was made based on a request from an overseas store.
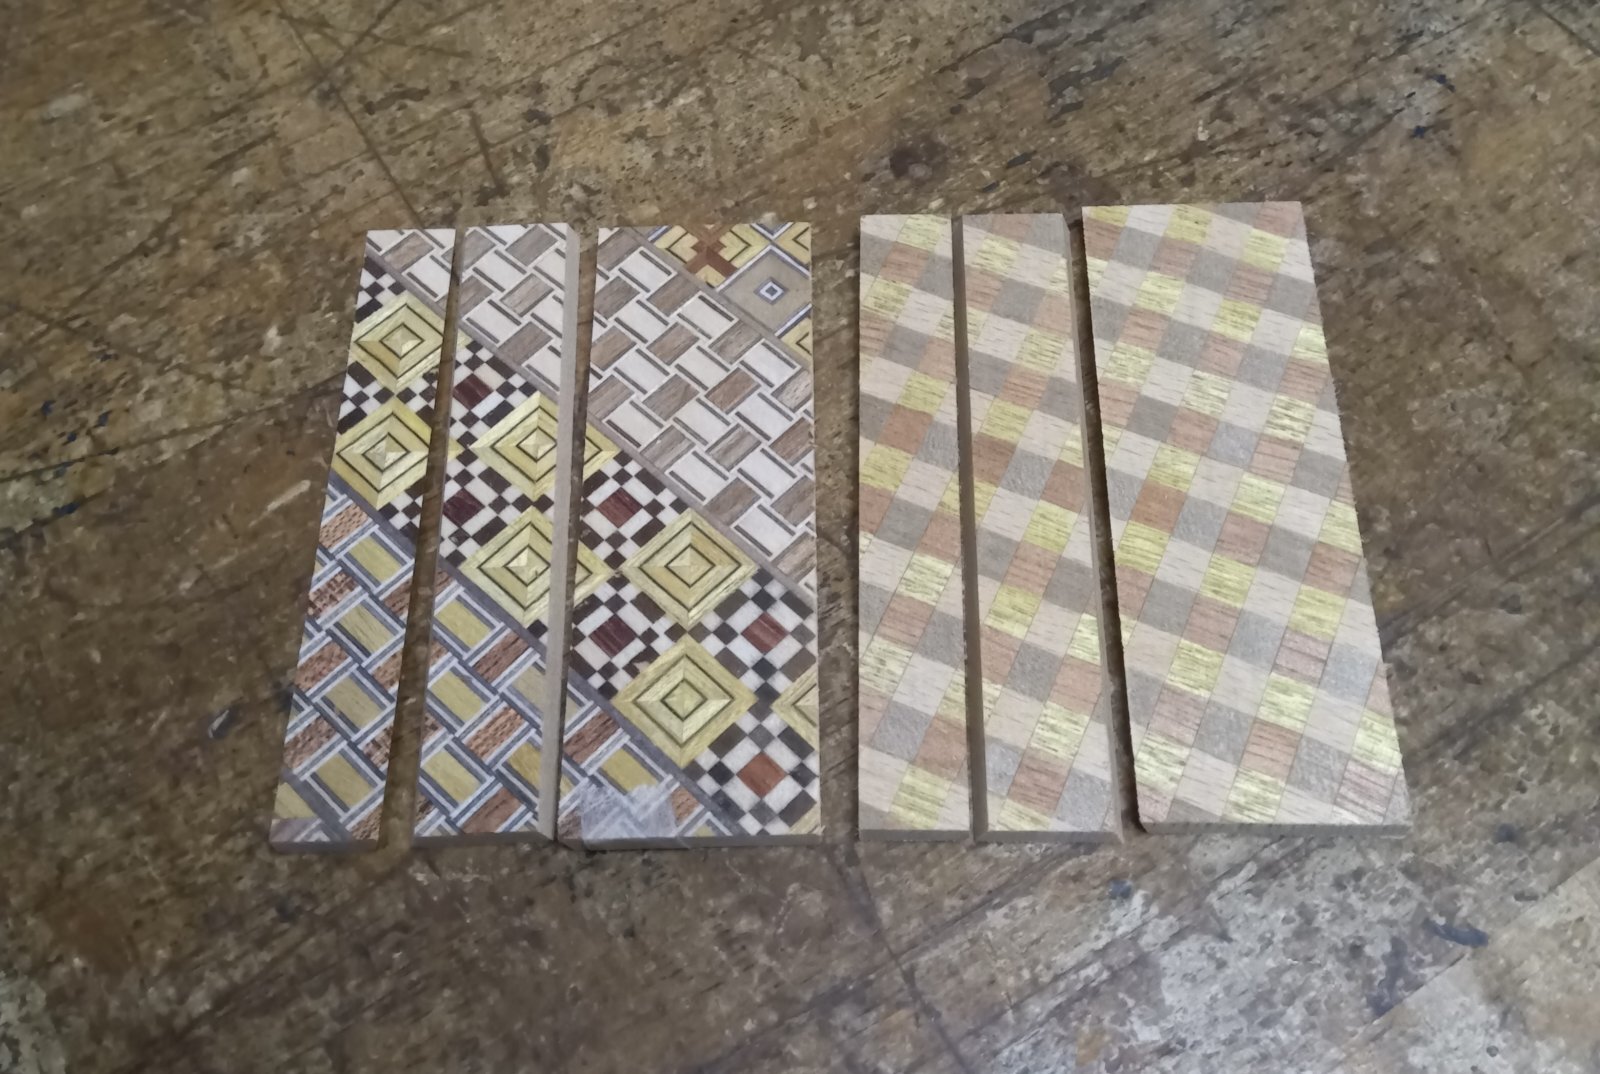
After finishing that work, I prepared the Kannuki panels (slide key panels), which I plan to attach starting tomorrow. Although the actual attaching will be done tomorrow, I made just the panel parts in advance. This way, I can move smoothly into the attaching process when I start. For the 3-sun boxes, I made checkered-pattern (ichimatsu) and walnut wood types. For the 5-sun boxes, I prepared traditional Yosegi designs.
In the past, I used to make each Kannuki panel one by one, but now I use a special jig I designed myself, which allows me to cut 3 to 4 panels at a time. I started using this method about 6 or 7 years ago, and it has greatly improved my production speed.
One thing I have to be careful about when making the Kannuki panels is that I cut one Yosegi board into three pieces, and during this process, the pattern on the Yosegi sheet can sometimes peel off. There are several possible reasons for this, but to prevent it, I place a backing board under the Yosegi board when cutting. This helps protect the Yosegi pattern. Sometimes you see products where the Yosegi pattern has peeled off in a jagged way—it's not very beautiful, after all…
I’ll keep working on these things tomorrow too😄
On windy days, I have to be careful because wood can warp. It’s often said that when drying wood, wind is more important than temperature. If you place the wood in a well-ventilated area, it will dry much better.
Today, I attached the side panels for both the 3-sun and 5-sun boxes. Since I’m working on several different designs at the same time, I have to be careful not to mix up the quantities. For the 5-sun boxes, I used the usual traditional Yosegi design. For the 3-sun boxes, there is a version that features only the checkered pattern this time. The colors of the checkered Yosegi are different on the top/bottom and the sides. This design was made based on a request from an overseas store.
After finishing that work, I prepared the Kannuki panels (slide key panels), which I plan to attach starting tomorrow. Although the actual attaching will be done tomorrow, I made just the panel parts in advance. This way, I can move smoothly into the attaching process when I start. For the 3-sun boxes, I made checkered-pattern (ichimatsu) and walnut wood types. For the 5-sun boxes, I prepared traditional Yosegi designs.
In the past, I used to make each Kannuki panel one by one, but now I use a special jig I designed myself, which allows me to cut 3 to 4 panels at a time. I started using this method about 6 or 7 years ago, and it has greatly improved my production speed.
One thing I have to be careful about when making the Kannuki panels is that I cut one Yosegi board into three pieces, and during this process, the pattern on the Yosegi sheet can sometimes peel off. There are several possible reasons for this, but to prevent it, I place a backing board under the Yosegi board when cutting. This helps protect the Yosegi pattern. Sometimes you see products where the Yosegi pattern has peeled off in a jagged way—it's not very beautiful, after all…
I’ll keep working on these things tomorrow too😄