Aruki panels
Today was another very warm day. The temperature was just right, making it a comfortable climate for working. In this nice weather, I worked on making the Aruki (Moving panels) for both the 5-sun and 3-sun boxes.
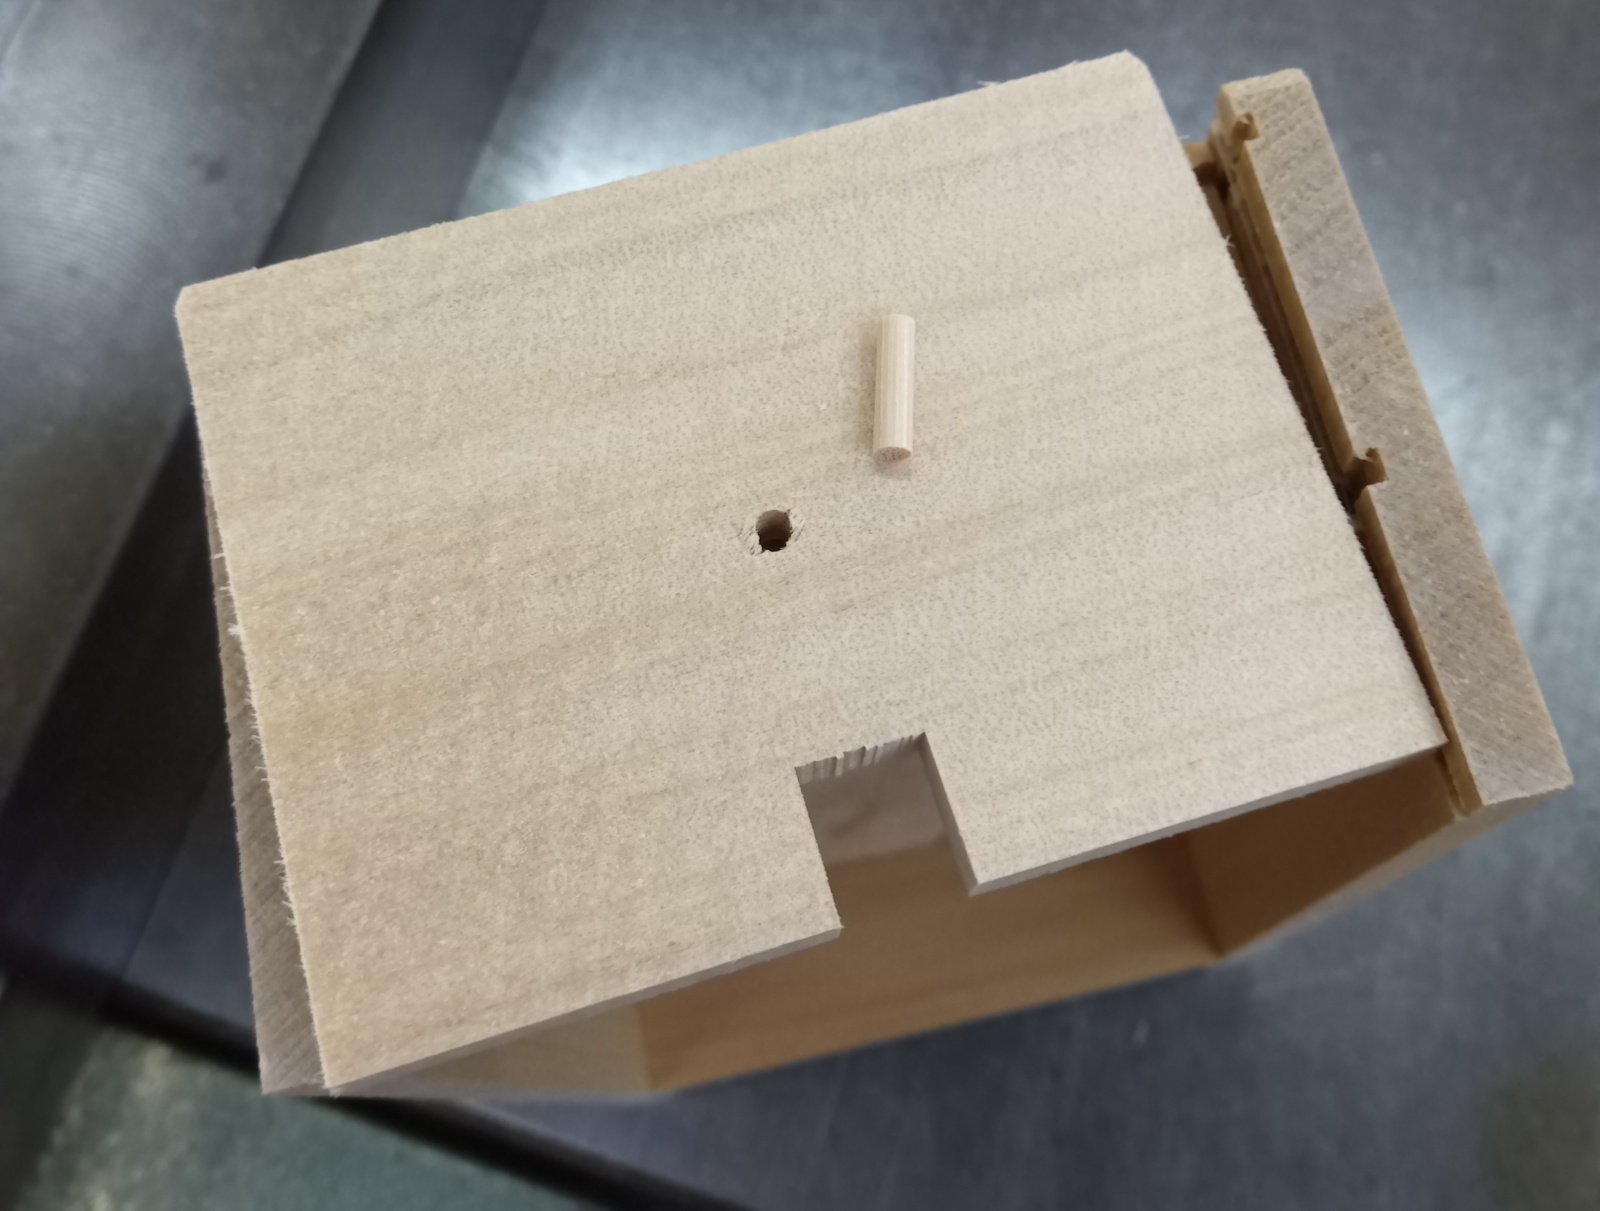
In the morning, I started with the Aruki for the 5-sun box. This one is the 10-steps puzzle box with a drawer. I prepared three types of Aruki panels: one for the top lid panel and two for the side panels. Since this box has a drawer, the shape is a little special. The Aruki panel where the drawer comes out is made to be the same width as the side panel (frame part). Unlike a regular 10-steps box, this panel moves upward. It must move exactly the height of the drawer and then stop—otherwise, it will slide out and fall. So, I place a pin inside the Aruki panel, and it catches at a fixed point to stop the movement. I always pay close attention to make sure it stops in just the right position each time. The drawer box I mentioned yesterday—the one I used as a reference when I first started making this type of box—did not use this kind of structure. It was an older style box that used a different method commonly seen in mechanisms of that time. The basic idea was the same: a part sticks out and catches to stop the movement. But instead of using a pin, it had a groove that ended partway, which prevented the panel from falling out. It’s a little hard to explain, but if you’re familiar with the Mame (1-sun) puzzle boxes, you might know this kind of mechanism—where the Aruki panel stops halfway and doesn’t fall out. Old method is similar to that approach.
Then, after attaching the Aruki panel to the frame part, I insert the pin. Once the final Yosegi panel is glued on top, the pin is fixed in place.
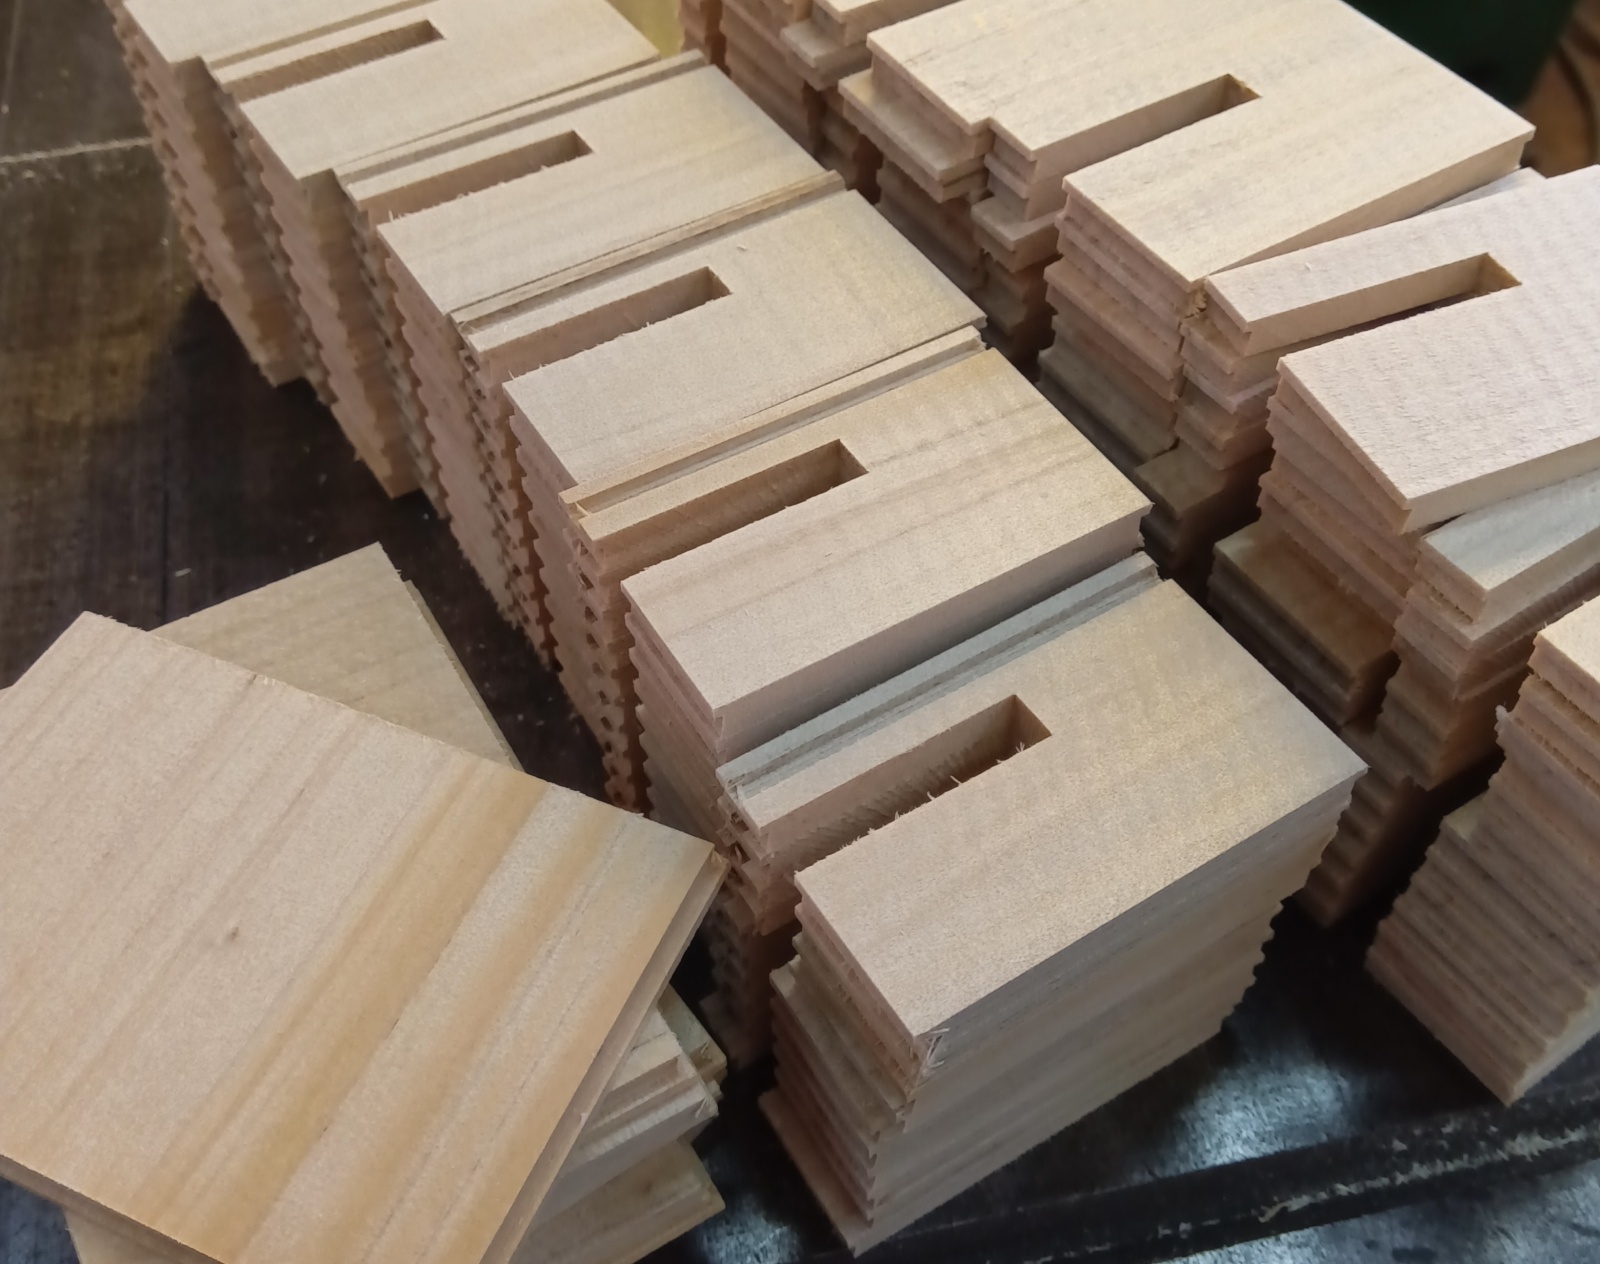
In the afternoon, I worked on making the Aruki panels for the 3-sun box. This time, I’m making 60 of them, so it’s a bit more than usual. Since the materials are thinner and smaller than those used for the 5-sun box, the structure is a little weaker, so I keep that in mind as I work. The top Aruki panel is 4.5 mm thick, while the side Aruki panels are made 5 mm thick. I used to make them all 4.5 mm, but that made them more likely to break when moved with force. Just increasing the thickness by 0.5 mm improves the strength quite a lot. For the past few years, I’ve been using 5 mm for these parts. The width of the bocchi (small wooden parts) is 6 mm, which is the smallest among all the puzzle boxes I make. When attaching the Kannuki (sliding key) to the 6 mm bocchi, the glueing area is very small, so I have to be extra careful. But due to the design and dimensions of the 3-sun box, I can’t make it any wider for now.
Since I’m only making a small number of the 5-sun boxes this time, I already attached the Aruki today. For the 3-sun boxes, since there are many, I plan to do the attachment tomorrow. Because I’m focusing on these two boxes, progress on “the knock box” hasn’t moved forward much..😅 I’ll try to keep working on all of them in parallel as smoothly as possible.
In the morning, I started with the Aruki for the 5-sun box. This one is the 10-steps puzzle box with a drawer. I prepared three types of Aruki panels: one for the top lid panel and two for the side panels. Since this box has a drawer, the shape is a little special. The Aruki panel where the drawer comes out is made to be the same width as the side panel (frame part). Unlike a regular 10-steps box, this panel moves upward. It must move exactly the height of the drawer and then stop—otherwise, it will slide out and fall. So, I place a pin inside the Aruki panel, and it catches at a fixed point to stop the movement. I always pay close attention to make sure it stops in just the right position each time. The drawer box I mentioned yesterday—the one I used as a reference when I first started making this type of box—did not use this kind of structure. It was an older style box that used a different method commonly seen in mechanisms of that time. The basic idea was the same: a part sticks out and catches to stop the movement. But instead of using a pin, it had a groove that ended partway, which prevented the panel from falling out. It’s a little hard to explain, but if you’re familiar with the Mame (1-sun) puzzle boxes, you might know this kind of mechanism—where the Aruki panel stops halfway and doesn’t fall out. Old method is similar to that approach.
Then, after attaching the Aruki panel to the frame part, I insert the pin. Once the final Yosegi panel is glued on top, the pin is fixed in place.
In the afternoon, I worked on making the Aruki panels for the 3-sun box. This time, I’m making 60 of them, so it’s a bit more than usual. Since the materials are thinner and smaller than those used for the 5-sun box, the structure is a little weaker, so I keep that in mind as I work. The top Aruki panel is 4.5 mm thick, while the side Aruki panels are made 5 mm thick. I used to make them all 4.5 mm, but that made them more likely to break when moved with force. Just increasing the thickness by 0.5 mm improves the strength quite a lot. For the past few years, I’ve been using 5 mm for these parts. The width of the bocchi (small wooden parts) is 6 mm, which is the smallest among all the puzzle boxes I make. When attaching the Kannuki (sliding key) to the 6 mm bocchi, the glueing area is very small, so I have to be extra careful. But due to the design and dimensions of the 3-sun box, I can’t make it any wider for now.
Since I’m only making a small number of the 5-sun boxes this time, I already attached the Aruki today. For the 3-sun boxes, since there are many, I plan to do the attachment tomorrow. Because I’m focusing on these two boxes, progress on “the knock box” hasn’t moved forward much..😅 I’ll try to keep working on all of them in parallel as smoothly as possible.