4 sun puzzle boxes
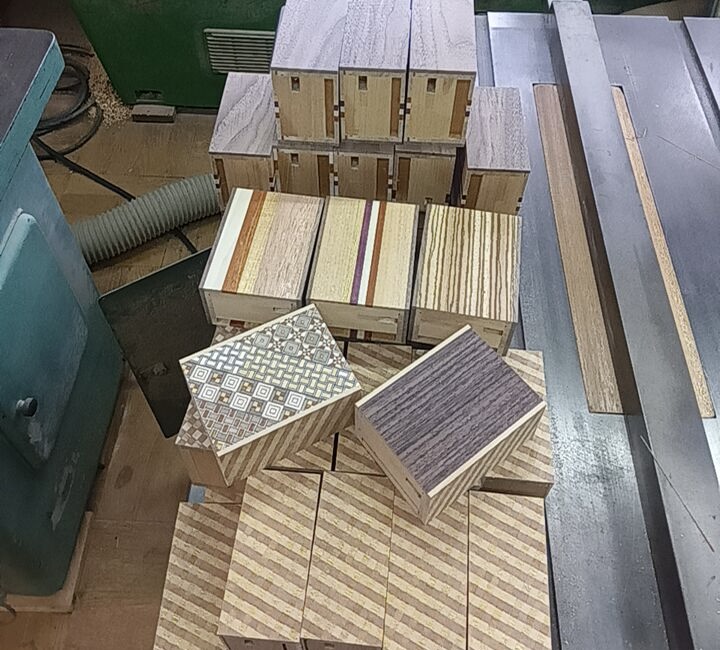
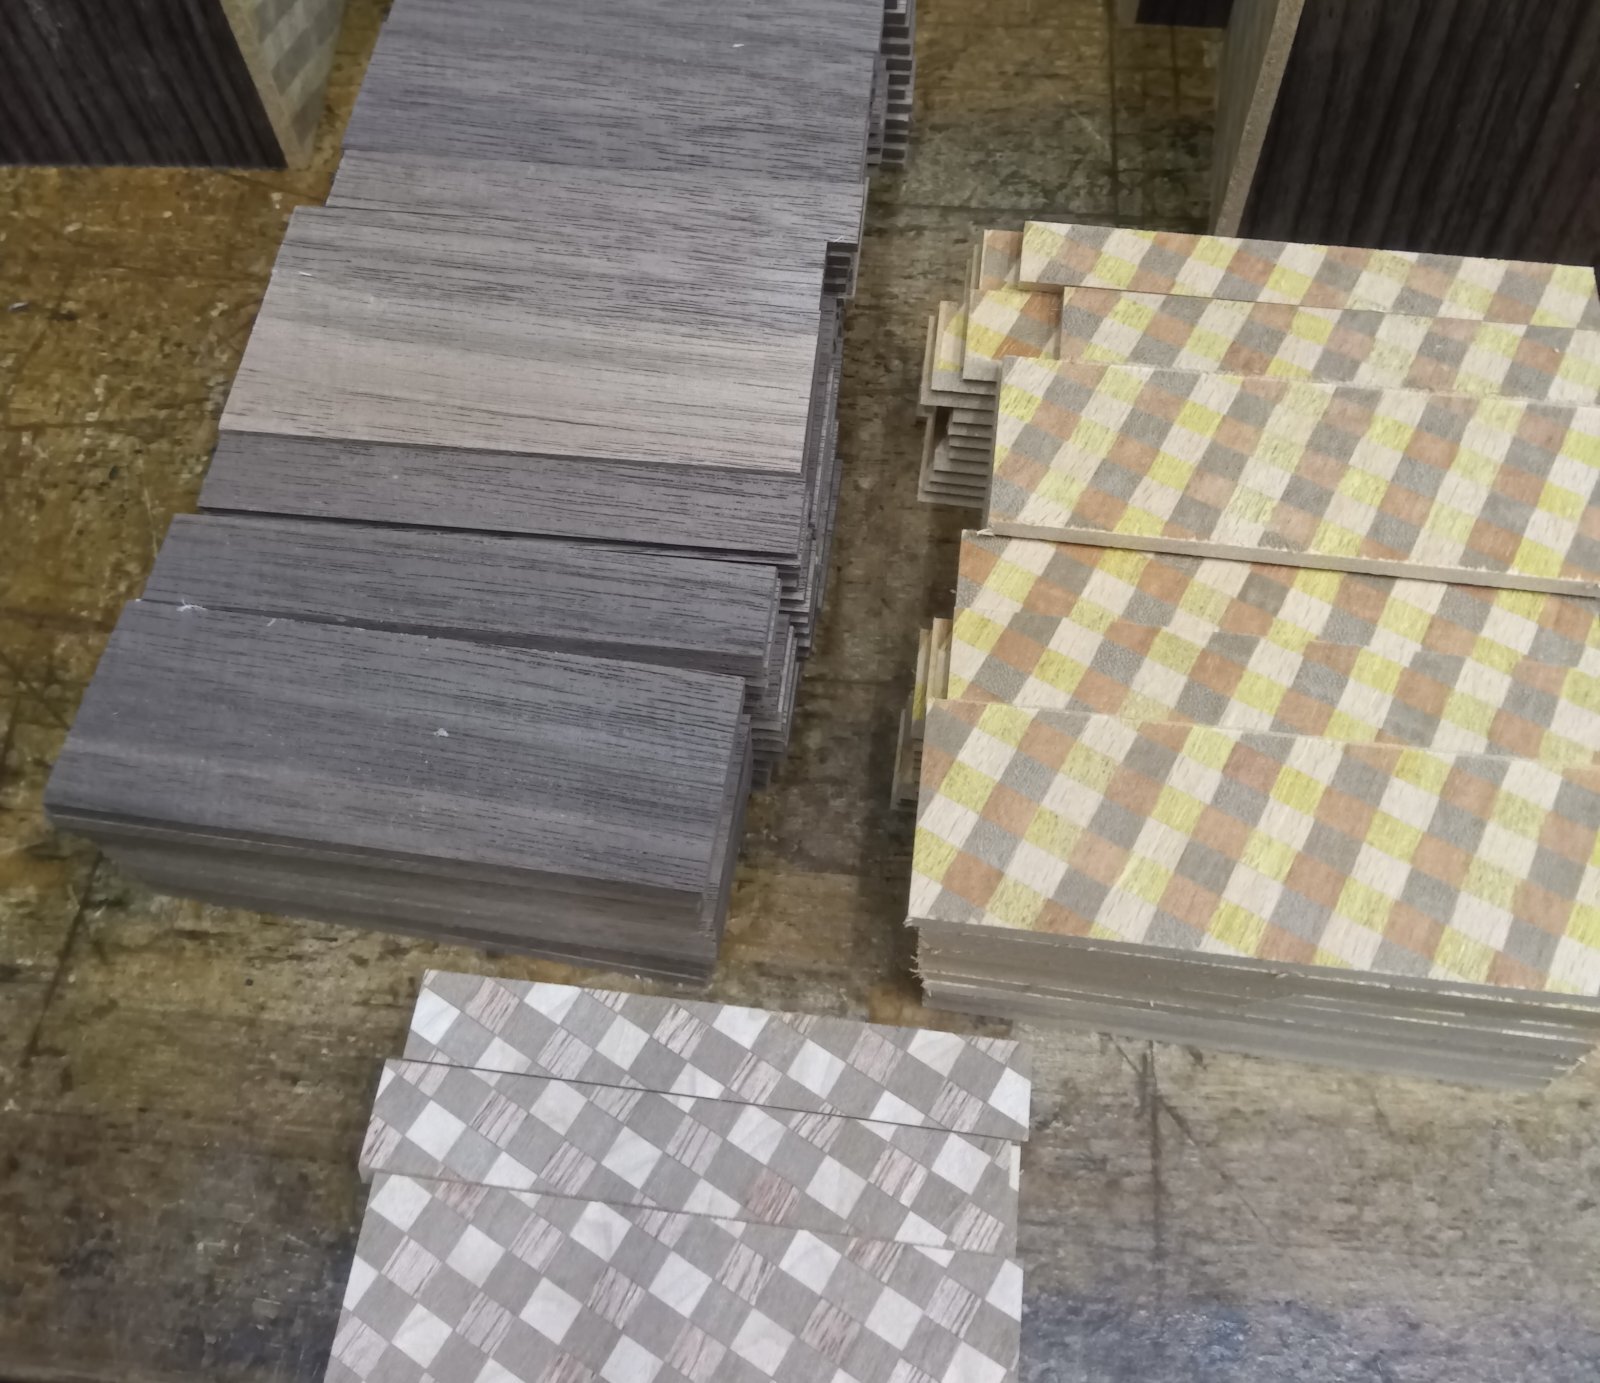
Over the past two days, I've been working on paneling for 4-sun 18-step, 12-step, and 14-step Japanese puzzle boxes currently in production. Yesterday, I attached the side panels. For the 18-step puzzle box, I'm using a checkered-patterned (ichimatsu) sheet, while the 12-step and 14-step boxes are fitted with solid walnut wood panels.
Attaching these side panels requires considerable force. When glue is applied, the wood tends to warp, so I use woodworking tools such as clamps to apply pressure, holding it in place for over a day to ensure a firm attachment. Solid materials, like the walnut I'm using this time, have a strong tendency to warp, so a secure hold is essential. Choosing wood with grain patterns that resist warping is also important in the material selection process.
Today, I attached the final panel, creating and securing one side of the Ariki panel (moving panel). I’ll leave it overnight and attach the opposite side tomorrow. This time, each panel is a three-part “kannuki (slide keys)” panel, so I can only attach one side at a time. The kannuki panels I made have the design shown in the photos.
When working with walnut kannuki panels, I carefully select the materials. To divide a single board into three, I use a saw with a 1.3mm blade, but if the wood grain isn’t straight, the boards can warp. To prevent this, I choose pieces of walnut wood with straighter, softer grain whenever possible. In comparison, agathis with Yosegi is softer and easier to work with, as the yosegi-sheet helps resist warping. Originally, yosegi was designed to have this effect, ensuring stability in the panels.
I’m a bit concerned about the upcoming days, as the weather is expected to be poor with higher humidity levels. It’s best to have a dry day for attaching these final panels, so I’ll have to keep an eye on the conditions.

