5 sun Drawer box (2)
Today, I worked on making the frame of the 5-sun Drawer 10-step Japanese puzzle box, so I’ll describe the process. The frame of this 5-sun drawer box is a bit more intricate compared to a regular Japanese puzzle box, so it takes a bit more time to create. At the same time, I am also making the internal divider panels.
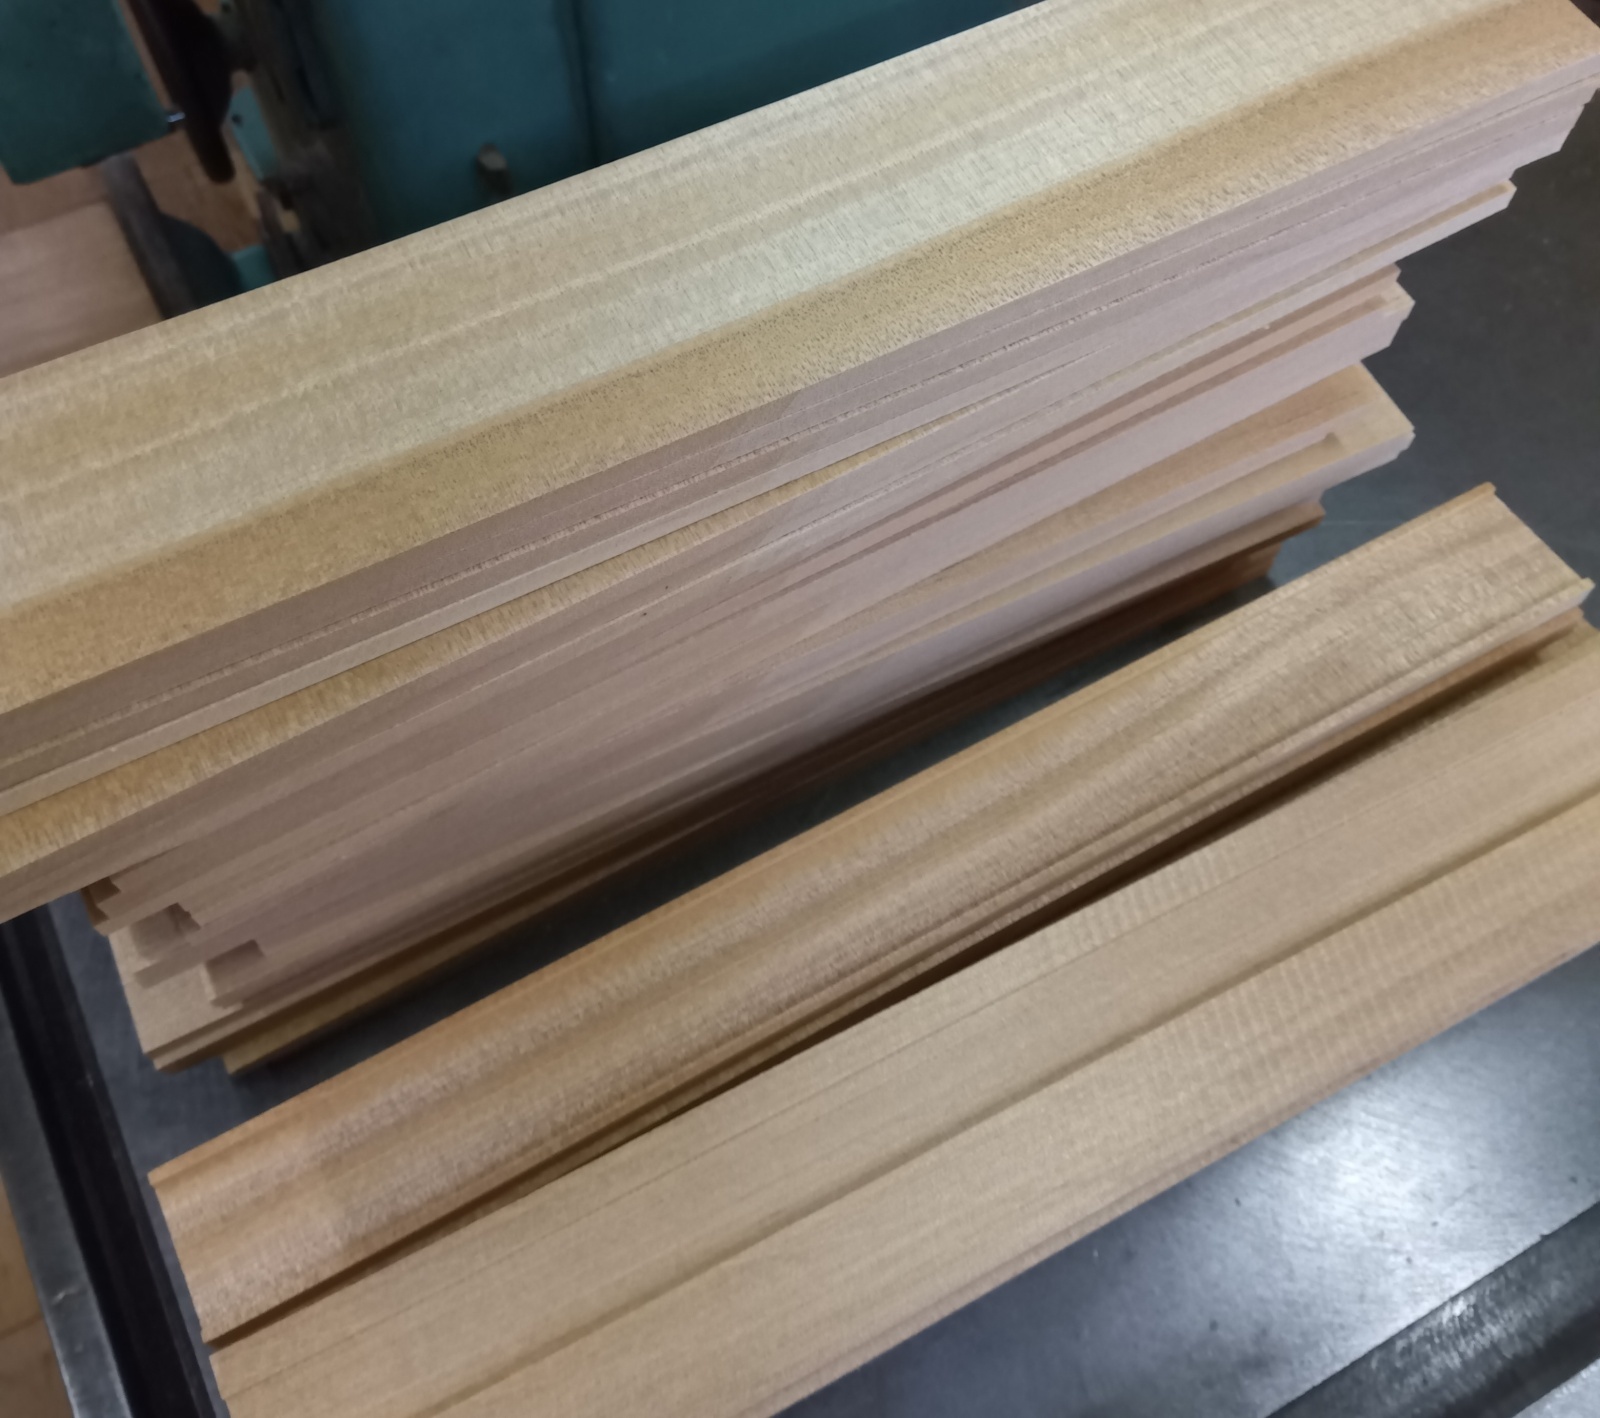
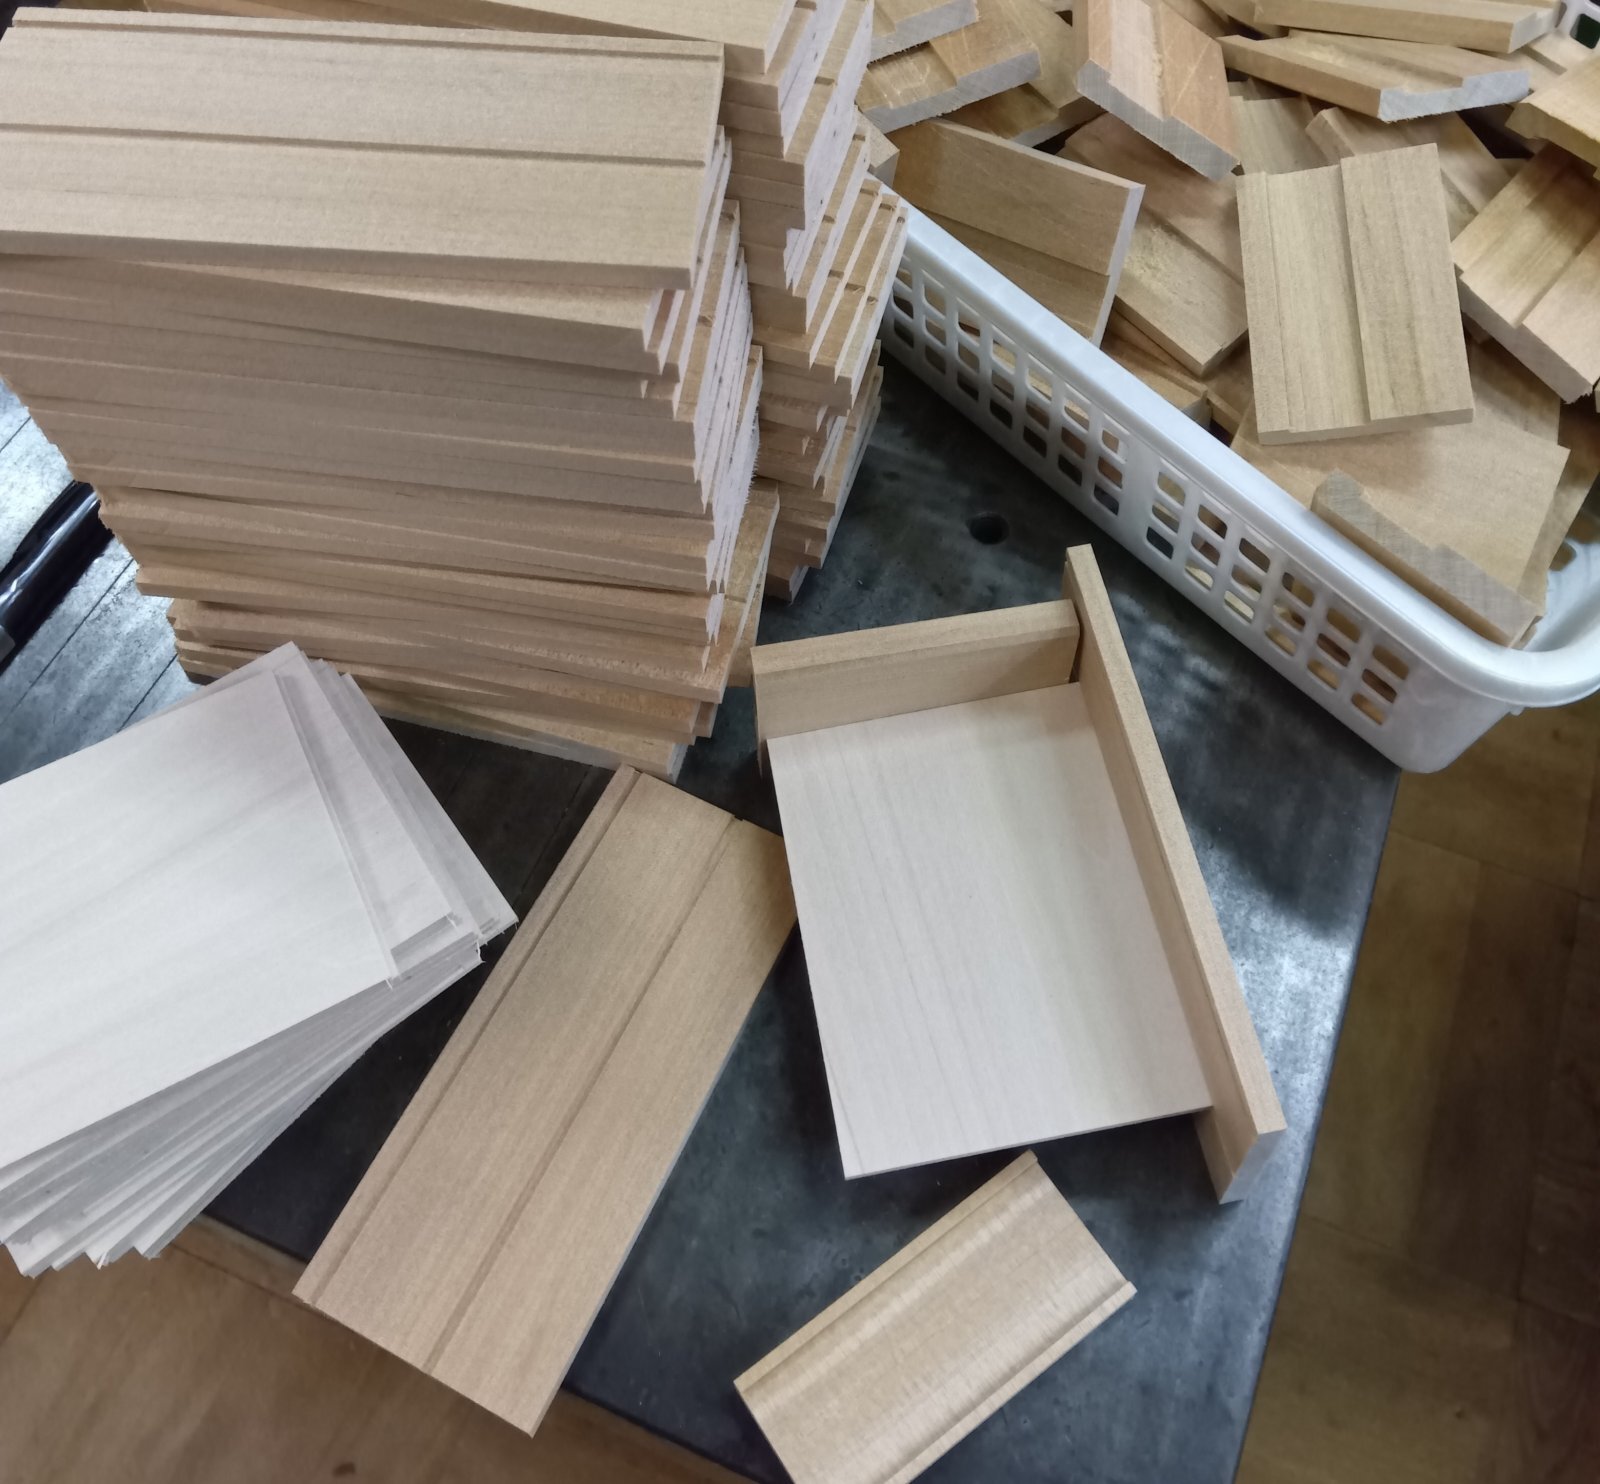
The photos show the materials after the wood has been shaved down to adjust the width and other dimensions, as well as the nearly finished parts. In the second photo, I’m fitting the internal divider panel (made of shina plywood) to the completed frame panels.
As usual, this frame uses two side panels and two axle panels. However, a groove is made in the middle of the side panels where the divider panel will be installed. Since it cannot be inserted later, the divider must be attached at the same time when gluing and assembling the frame panels. The divider fits snugly into the groove, so it won't come loose, but I also apply glue inside the groove to ensure the divider is firmly fixed and doesn't wobble.
As you can imagine, the divider panel fits into the groove, but the groove is carved slightly wider to make assembly easier. For example, while the divider panel is 2.5mm thick, the groove is about 3mm wide. When assembled, if the panel isn’t glued in place, tapping it will cause a buzzing vibration. This kind of structure, where divider panels are slotted in, is commonly used in items like trays or document boxes sold in our region, not just puzzle boxes. There’s a long-standing tendency among older craftsmen to strongly dislike such vibrating panels. They likely didn’t want their work to be perceived as cheap or defective due to the vibration. Because I worked among those craftsmen, I’ve also adopted this mindset and don’t particularly like such vibrating panels either😅 That’s why I glue the divider panel in this secret box with a drawer to minimize any vibration.
Now, I’ll move on to assembling the frame. Since this drawer box frame has an internal divider panel, it’s sturdier than the frame of a regular Japanese puzzle box. However, as you might notice in the photos, one of the axle panels is much narrower, about two-thirds the width of the other axle panel. This is because the drawer slides out from the bottom of the narrower axle. This makes the lower part of the narrow axle unable to support the bottom panel, making it the weakest point of the drawer box. Every time I make this type of box, I pay special attention to this part. That’s why I use plywood for the bottom panel, and I believe it’s the right choice. If I used solid wood for the bottom panel, it would likely warp or crack more easily at that weak point. The bottom panel is about 3mm thick, and when it’s this thin, plywood offers greater strength👍

