Aruki of mame box
I have been working on making "Mame" Japanese puzzle boxes since last week, and today I'll describe the process of attaching the Aruki panels. This batch is a large order for the Hakone market, with around 90 boxes in total.
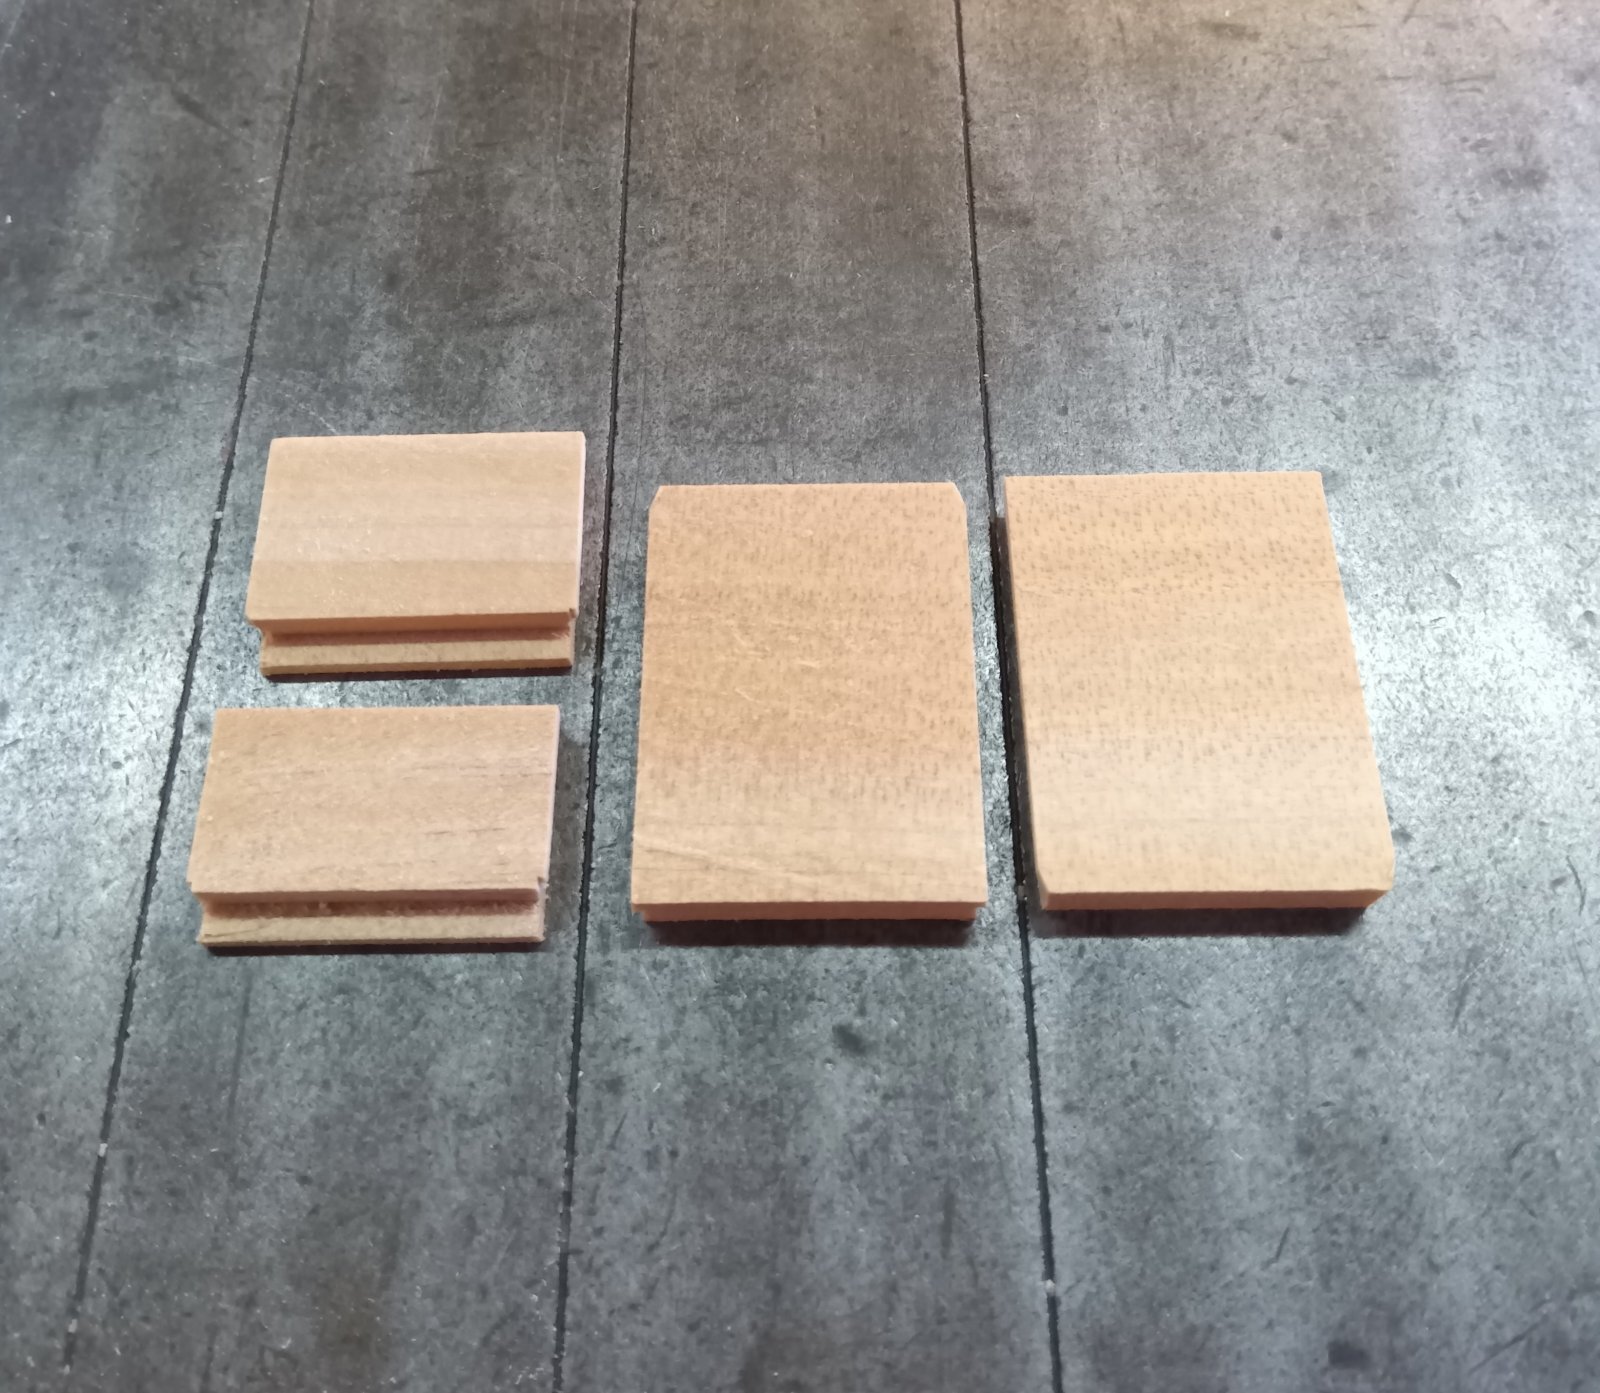
Each Mame puzzle box uses four Aruki panels (photo). Typically, Mame boxes with 10 to 22 steps use four panels, while only the 4-step box has three Aruki panels. This means, this time, I need to attach around 360 panels in total. It's quite a hard task, and since the boxes are small, my hands will likely hurt by the time I'm done..haha😂
These Aruki panels are for a 10-step mechanism, so they are relatively simple. The top and bottom panels have no notches and can be attached from either the front or back. On the other hand, the side Aruki panels have a single notch crafted into them.
The Aruki panels for the Mame boxes are made slightly looser than those for regular Japanese puzzle boxes. Since the boxes are small, it's hard to apply much force, so if the panels aren't looser, they become difficult to move. However, they can't be too loose either. The movement needs to be smooth with just a little effort. Here, I work on attaching the Aruki panels with just the right level of tightness.
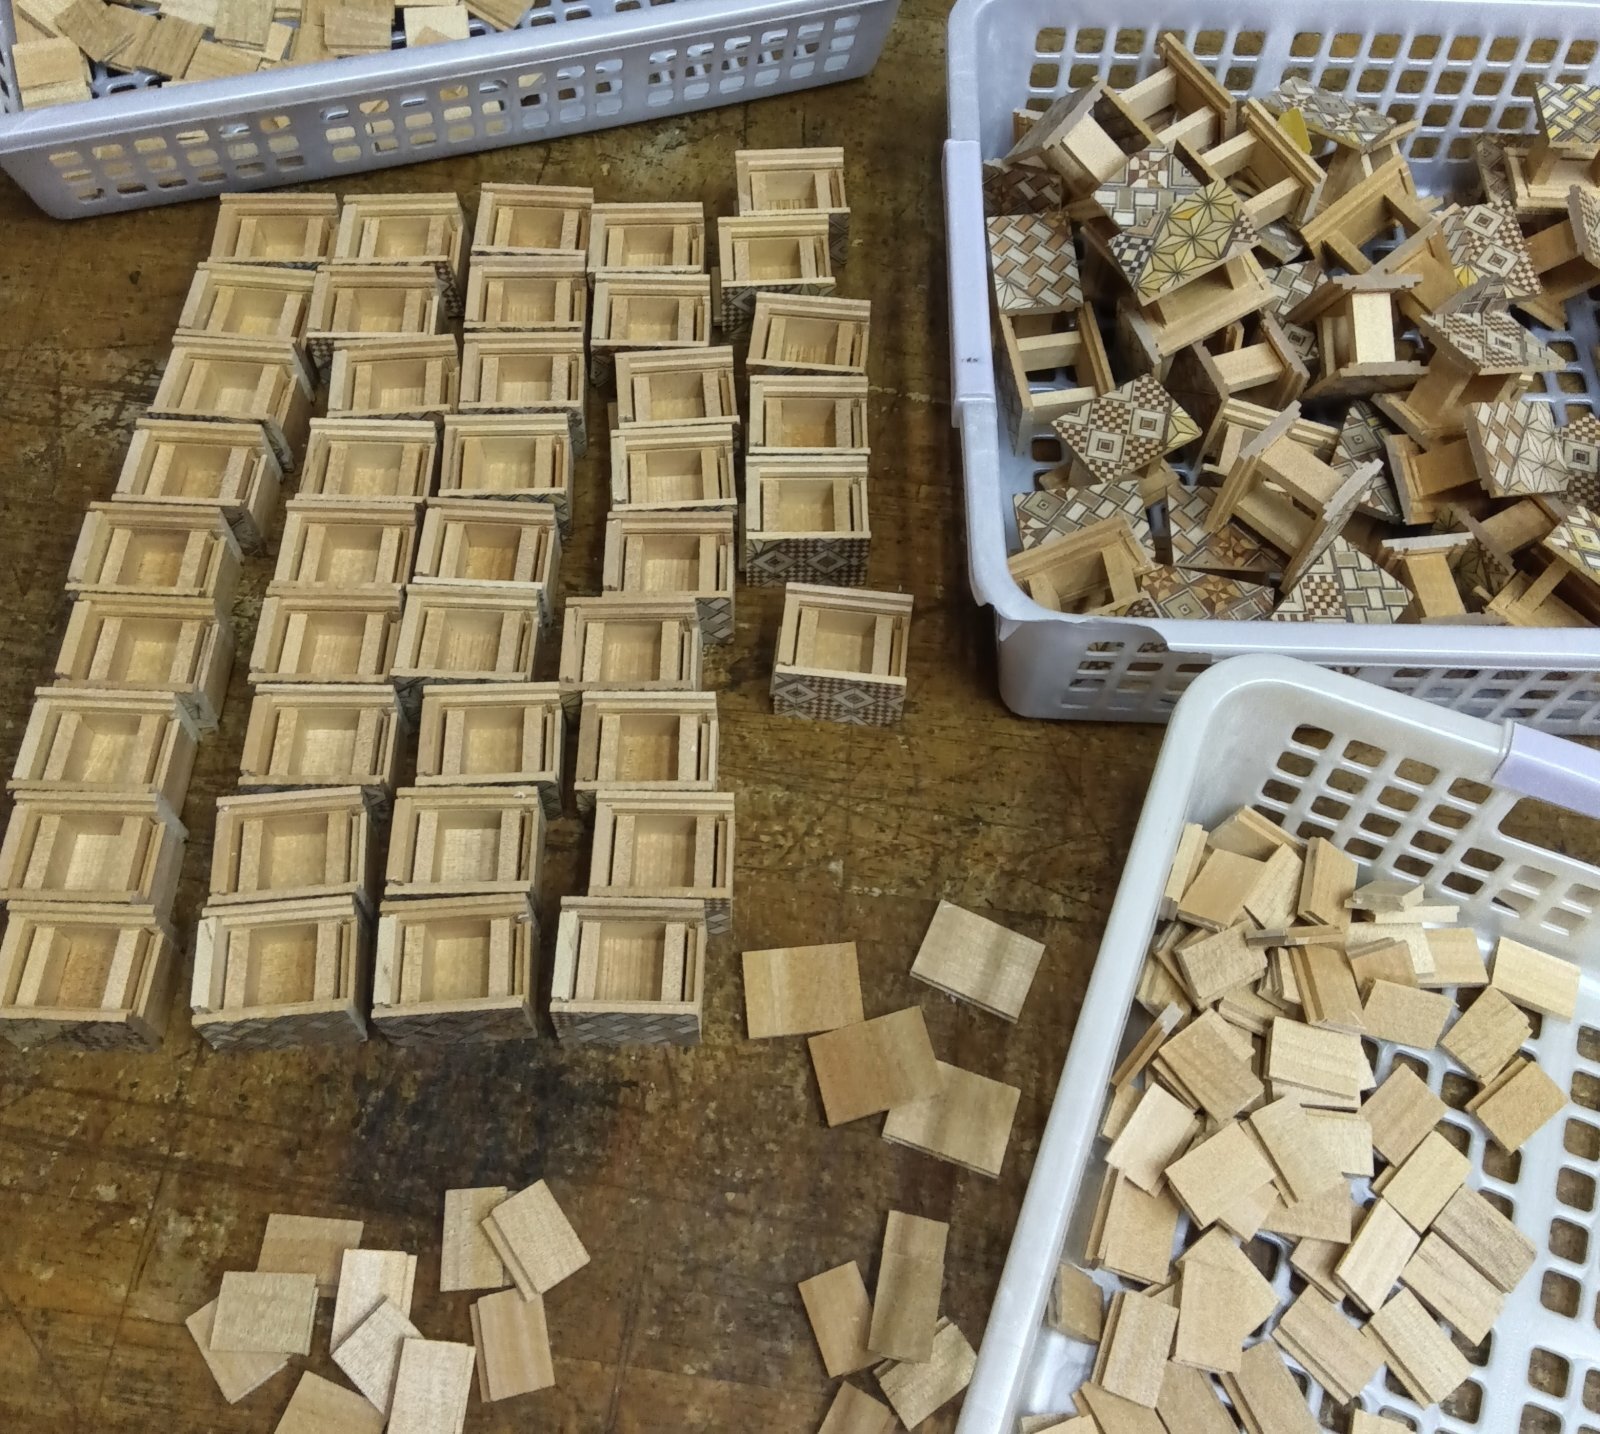
I attach the four Aruki panels to the already completed frame (photo). These panels are made using woodworking machines, but at this stage, each Aruki panel is slightly different. While the differences are incredibly subtle, when attached to the frame, some fit loosely, while others are tight—every one of the 360 panels behaves differently. Even though they are made uniformly by machine, the variations are due to the differing qualities of the wood and the conditions of the frame. Cutting wood with a machine results in slight differences in how softer and harder parts are shaped. Although the differences are almost impossible to detect by sight, they significantly affect how the panels move once attached.
and also, Since the frames are assembled by hand, slight variations arise depending on the pressure applied during assembly. These differences are so subtle that they can't be seen by the naked eye. However, even these minor differences create tiny misalignments in the grooves where the Aruki panels slide on either side of the frame, which in turn affects how tightly or smoothly the panels move.
Therefore, simply attaching the Aruki panels into the grooves wouldn’t take much time, but since I adjust the movement of each one as I attach them, it takes a considerable amount of time to finish everything. After finishing the attachment, I will apply the Yosegi panels to the top and bottom surfaces.

