Blog
Updated Monday to Friday
643 articles
-
 Long Aruki Panel
 -
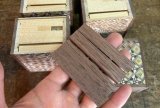 Attaching Sliding Key Panels
 -
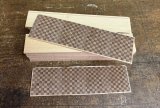 A Little Extra Work
 -
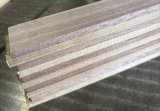 Longer Checkered Yosegi Sheets
 -
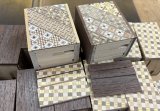 Yosegi and Solid Wood Side Panels
 -
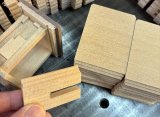 Movement Distance and Box Size
 -
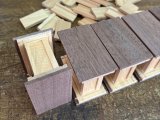 Using Enough Glue
 -
 3-sun Axis Panel Balance
 -
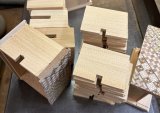 Panel with No Extra Clearance
 -
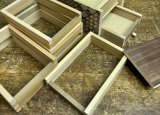 Assembling the Drawers
 -
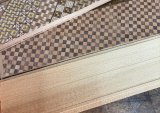 Preparing to Attach the Divider Panel
 -
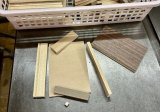 The Drawer Structure and Its Improvements
 -
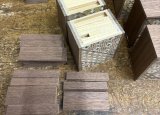 Wood Grain Selection
 -
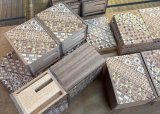 The Benefits of Engineered Wood
 -
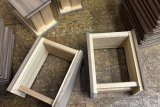 Fixed Axis Panel
 -
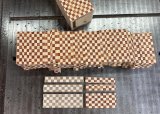 Box Size and Sliding-Key Width
 -
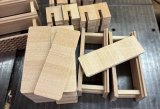 Was an Anti-Warping Method Necessary?
 -
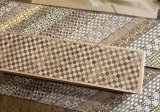 How Pattern Direction Affects Gluing
 -
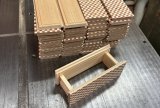 Working with a Non-Standard Box
 -
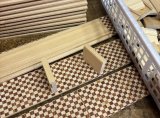 Slim Puzzle Box
 -
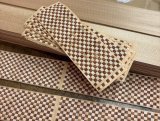 Using a Red-Colored Wood
 -
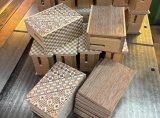 The Standard 14-Step Box
 -
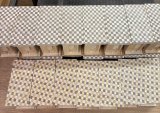 Plans for a New Four-Color Ichimatsu
 -
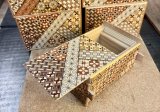 From 36 Steps to 40 Steps
 -
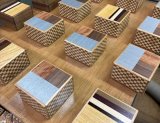 Unique Wood
 -
 Panel Divided in the Center
 -
 Dividing the Sliding Key Again
 -
 Attaching the Panels for Proper Alignment
 -
 Design and Movement
 -
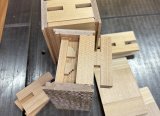 The Feel of the 36-Step Mechanism
 -
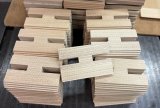 Keeping Both Sides Even
 -
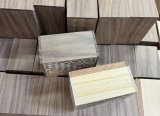 Preventing Warping During Finishing
 -
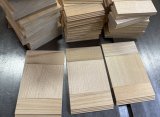 The Need to Prevent Warping
 -
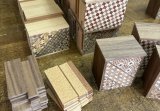 Sliding Keys and Their Design
 -
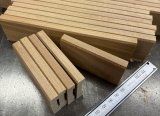 Beveling the Axis Panels
 -
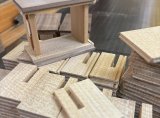 Trial and Error with Aruki
 -
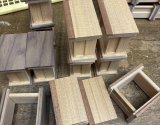 Choosing Wood for the Borders
 -
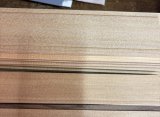 Aruki Groove Dimensions
 -
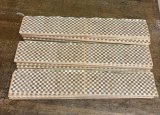 Two Pieces, One Sheet
 -
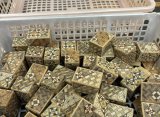 Handling Mame Puzzle Boxes
 -
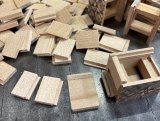 Mame 10-Step Aruki Panels
 -
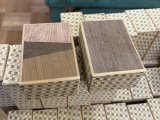 The Effort Behind the Finishing Process
 -
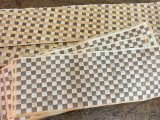 Side Panel Yosegi Sheets
 -
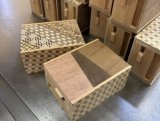 The Glue Surface
 -
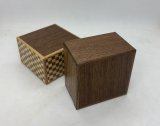 Single Wood Species Design
 -
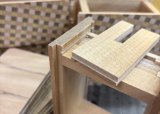 Balancing Movement and Support
 -
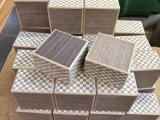 Natural Wood Design
 -
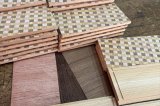 Slow and Careful Work
 -
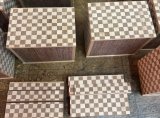 The Advantage of Vertical Patterns
 -
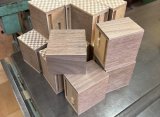 Wood Grain Placement
 -
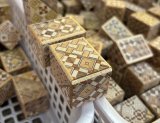 Rounding the Edges of the Mame Box
 -
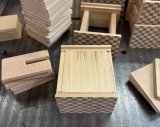 Short Top Aruki Panel
 -
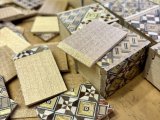 Unique Mame Panel Feature
 -
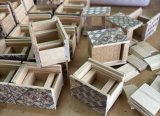 Attaching the Four Panels
 -
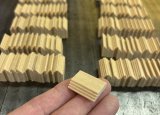 Adjusting the Aruki Sides
 -
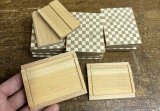 Traditional Japanese-Style Box
 -
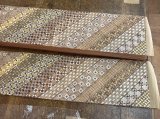 Yosegi for Mame Puzzle Boxes
 -
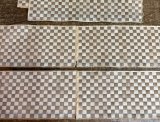 Sheet Grain Direction
 -
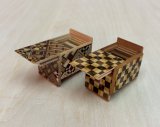 Smooth Mame Himitsubako
 -
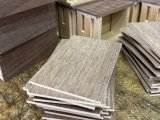 Choosing the Right Backing Board